Setting the Workshift (Fanuc CNC Lathe)
Category : Beginners Fanuc Turn
Setting the Workshift

This article is about the Workshift on a CNC Lathe with a Fanuc control.
As a beginner one of the first things you will need to learn is how to set the workshift.
The workshift is an adjustable figure that tells the control where the work zero is.
It defines the relationship between the turret and the workpiece.

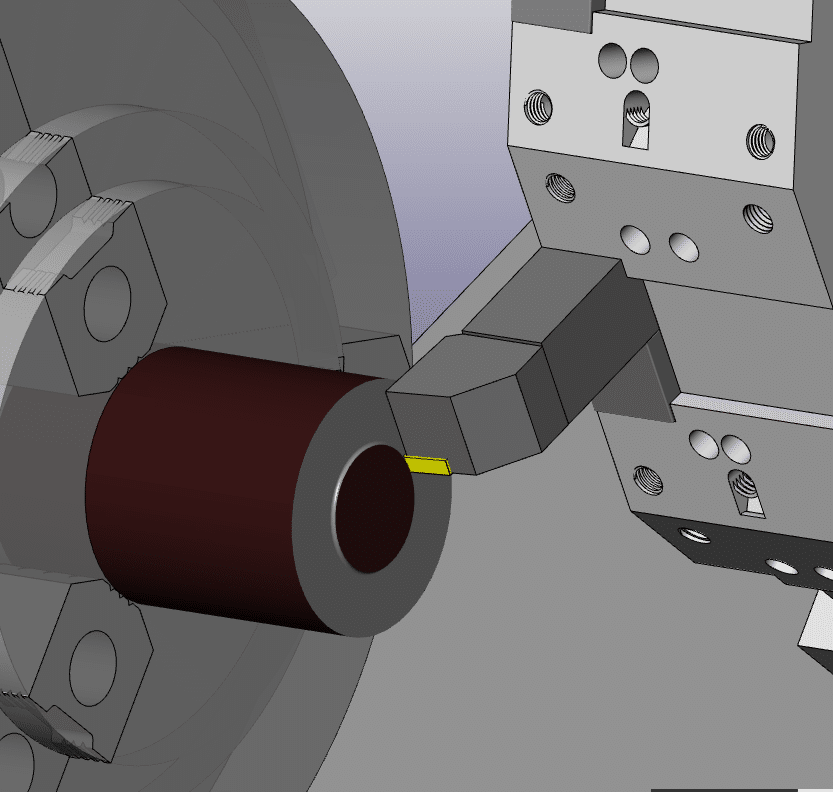
So we have a programme for our part on a our CNC Lathe. Let’s assume this programme is perfect with no errors.
But at the moment it’s just a part floating around in space.

You have measured the tools using cut and measure or a tool presetting arm. You also need to tell the machine the radius of the cutting tool tip and its virtual nose position.

So now all the machine needs to know is where the workpiece stock is. That’s where the workshift comes in.
 Tool Presetting Arm
The setting of the workshift will vary from one machine to the next but just think about this logically.
1 You have a program.
2 Your machine knows where your tools are in the X and the Z axis.
So now your machine needs to know where the workpiece is in order to complete the jigsaw puzzle.

To do this we need to set the workshift.
With regards to the X axis this never changes because the centreline of the machine is always the same.
Just Worry About Z

Sooooo this is just about Z.
The way we do this is to effectively tell the machine where the tools are in relation to the workpiece.
First you need to call out a tool and its offset.
T0101 (Call tool one and offset one)
You could do this in MDI

Bring the tool to the front face of the component. If you want to machine metal from the front face then you would position the tool slightly behind the front face.
You could even start the spindle and machine the front face. That way you will know you took off the right amount of metal.
(You can use any tool for this provided it has been measured and you call its offset)
Cursor to the Z underneath (MEASUREMENT) on your workshift screen.

Type in 0 then press INPUT

The Z SHIFT VALUE will change.
If you want to you can input zero into shift value on the left to reset it before you start.
I like to do this when I am setting the workshift because you can clearly see the new figure when it goes in.
My screenshots are from newer Fanuc controls. Even if yours is an old banger it will be much the same.

Be very careful not to set anything in the X figures because it will completely mess up your X axis position. This could leave you in deep shit.
It is always good to note the X figure even if it is set to zero.

This X figure can be used to set the centre-line for your drills and centre cutting tools so it may not be zero.
Mine is set to X270. which is the centreline of my machine. So if I am using a drill or any tool that works on centreline then I only need put zero in the X offset.

Be careful before changing this if you have a tool measurement arm as it will alter all your X figures. You will need to re measure all of your tools.

In the table above tool 9 is a drill and because my workshift is set to the centreline (X270.) I would input zero in the X offset geometry.
Otherwise you would have a standard figure that you put into X for all your centreline tools.
On my machine it would be 270. but it usually ends up at something close like X270.106 which is hard to remember.
I often see this figure written on the side of the machine in felt tip pen for operators to remember.
If you do have a figure in the X it is really important not to change it. I would recommend using G10 in all your programmes. That way you can always be sure this figure is correct.
(G10 is a way of entering your offsets and workshift from the CNC Program)

In the program above it is the G10 P0 X270. line. The P0 tells the control to write to the workshift.
This way even if you fuck up the X position the control will just ignore you and keep writing the correct figure in at the beginning of the program.
Please note I am not putting anything in the Z for the G10 as I don’t want this updating. You can do this if you want, but you need to remember that you can now only alter the Z from the G10.
Testing The Workshift
Once your workshift is set you are ready to prove out your part.
You can test the workshift in MDI if you wish.
T0101;
G0 Z0;
Make sure to override the rapid moves (not 100%) and look at
DISTANCE TO GO

If when you run your program the front face of your part does not clean up or you feel you are taking too much off then the workshift will need to be altered.
Note
Changing the workshift moves all the tools together. I does not change the relationship between the tools.
How to Alter The Workshift

Always use + INPUT as this will add the value to the present value.
![]()
If you use input it will replace the figure and now your in trouble.

How to Adjust workshift
Be Careful Not to Alter X
Thanks for watching and reading
If you have been affected by any of the issues in this post or need CNC Counselling then contact me.

Or call us
If you want to learn to program CNC Milling Machines
Look no further Contact CNC Training Centre
11 Comments
John
November 21, 2019 at 1:21 pmHaving a problem set up tool it faced it rough od finish od went to center drill the z is of 1.5 inches x maybe .200?
Tim Moss
December 10, 2019 at 1:19 pmGreat post, really useful information for people starting out in CNC Turning and Machining.
Brand Nailers
December 24, 2020 at 8:14 amWonderful information ,thanks a lot for sharing kind of content with us.Your blog gives the best and the most intersting information on settinf the workshift fanuc cnc lathe.I wonder if we can gather such practical information about it ,a great post definitely to come across.
David
January 2, 2021 at 9:35 amThanks for that Brand
Iain
March 18, 2021 at 10:36 amWhat if you “fat fingered” it and set the X shift value or
X measurement?
On a Oi mate-TB.
Asking for a friend.
David
March 21, 2021 at 8:57 amI have updated the article to include this. Thanks for your interest.
Will
April 21, 2021 at 4:43 pmWhy would you use work shift and not just set G54 X0. to the centreline and change G54 Z0. As needed for each part?
What do you make your ‘master’ Z0 you are shifting from? Turret face touching the Chuck face?
Jeremy rose
December 16, 2022 at 8:39 pmEvening, I’m having an ongoing issue where my 1460xs will not go to the entered destination in the program, it leaves 6thou every time.. the only way we are managing to get round is by putting it into the work offset. Any thoughts would be appreciated.
David
January 11, 2023 at 3:16 pmEmail me on the contact form and give me more details control etc. I’ll see if I can help
freddy oñate
June 29, 2023 at 12:03 amTengo una duda y no se donde sacarla, tengo un torno cnc y cada vez que tengo que hacer un trabajo con las mordazas abiertas (sujetando por dentro o diametro interior ) me salta una alarma 2041 chuck not lock
David
July 3, 2023 at 3:18 pmHabrá un interruptor de llave para cambiar a externo. A veces es una tecla programable en el panel de control. Es posible que también deba ajustar un interruptor de proximidad