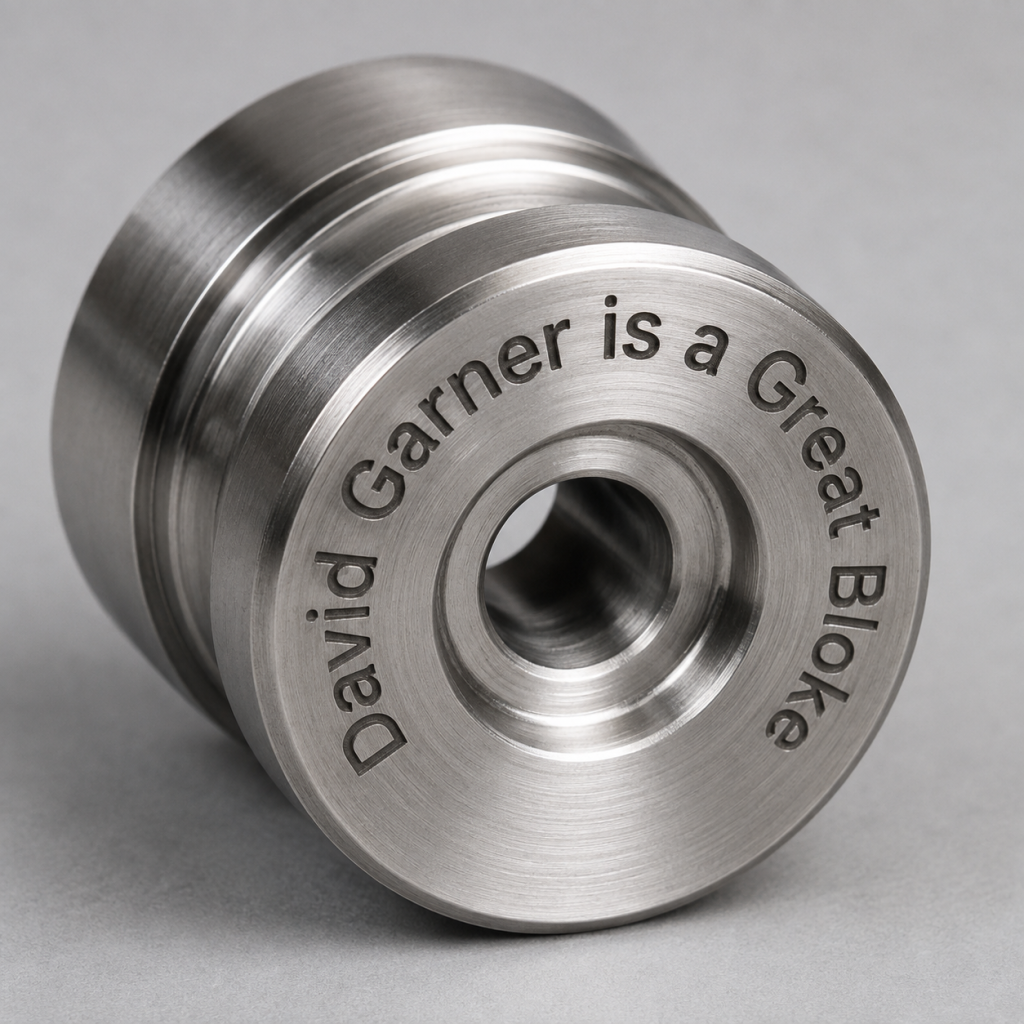
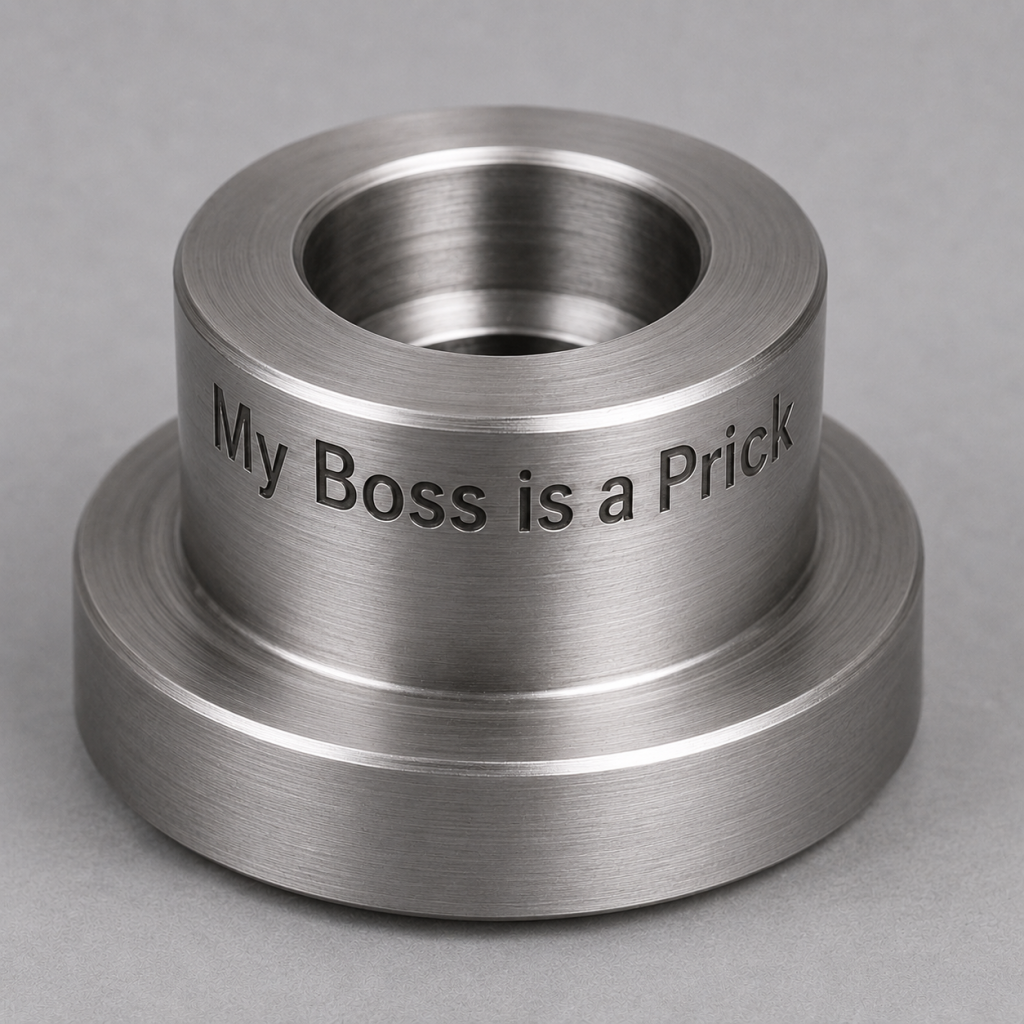
FANUC Manual Guide i Engraving on a Doosan Lynx 300M
FANUC Manual Guide i engraving is one of those things that often looks more complicated than it really is.
Now I admit to having a few “issues” with Manual Guide i but when it comes to engraving I have to admit it’s quire simple.
Not well explained, sorry I’m doing it again. Anyway once you get how it works and what it wants to know it’s easy
If you have a CNC lathe with a C axis and driven tooling, you can do much more than turn diameters and face components. You can mill flats, drill cross holes and engrave text directly onto the component.
Loads and loads of shit. So much fun without taking down your pants.
On the Doosan Lynx 300M, you can engrave on the front face of a component or wrap the engraving around its outside diameter. It can be straight across the front face or rotated around it.
This type of C-axis engraving is ideal for adding:
Part numbers
Batch numbers
Serial numbers
Company names
Material specifications
Inspection references
Simple identification marks
And the most common which is rude comments to make your mates laugh
Manual Guide i makes the process quite straightforward. You can create the engraving conversationally rather than calculating and programming every individual movement yourself.
FANUC describes Manual Guide i as a conversational programming system for turning, milling and combined machining applications. You can read more about its capabilities on the official FANUC Manual Guide i website.
So when we turn on the machine we would need to zero return the machine. What is Zero Return you ask?
Well when you switch on the machine it’s a bit like when you wake up the next day after drinking a whole bottle of whisky.
First thing you think is where am I? Then the memories flood back of how you were dancing naked on the bar.
A CNC machine is much the same (except they don’t piss in a complete strangers cupboard). So you need to let the machine know where it is.
We move the machine back to it’s zero position and on the way it triggers a dog which is like passing over a button. This tells the machine where it is.
You’ll notice it slows down as it passes over this dog. That gives it time to sort itself out.
No dogs were harmed to create this post
Not a real dog you turkey that would be cruel I mean a switch.
You only need do this when you first turn on the machine. After that the machine always knows where it is.
Jog
Jog what’s Jog? Well in this mode you will have an X Y and Z buttons.
This determines how fast your axis will move when you press X Y or Z in the plus or minus direction.
This very often has a rapid button that you can hold in to make the moves really fast if you really want to shit yourself.
So you can use this to move your axis around. You could even use it to drill a hole or face mill a part.
CNC Help Hand wheel
When you use the hand wheel you would normally be required to select an axis and an increment as below.
If you selected the X axis and an increment of 0.1 then each click of the hand wheel will move the X axis 0.1mm.
The hand wheel always reminds me of the robbers cracking the safe in the old movies.
Again you can use the handwheel much like jog to get the machine in the position you want and maybe drill a hole or something.
Haas handwheels have a really course setting like 1mm a click so beware!! But it’s great for quickly getting around the machines.
Also beware of over-run, because some Haas Toolroom Machines will carry on after you finished turning the hand wheel!!! Holy shit batman.
Just remember that these articles are designed as general guidelines as machines will vary.
If you use the analogy of driving a car then it’s like borrowing your mates car. It will definitely have lights and indicators. You just got to find where the switches and buttons are.
Got this off ebay only 5000 quid
Incremental Jog
Just thought I’d add this in. Some machines have an incremental jog and I suppose it’s a bit of a combination between handwheel and jog.
You select an increment and each time you press the axis button (XYZ) the machine feeds that amount.
Very useful for clocking in bores and stuff like that. Personally I like the idea and if I worked on a machine with this I’d be using it.
It’s important to remember that handwheel and jog can usually be used with the door of the machine open. They may seem gentle and there’s not much noise going on.
Please note you are using the full power of the machine and if your hand is in the way the handwheel will not stop.
MDI
Remember that these modes may have slightly different names but all CNC machines will have them.
Like on some Siemens controls MDI is called MDA (don’t google that one!!!)
Manual Data Input (I suppose it’s kind of self explanatory).
It’s just a way of writing little short bits of CNC code and it’s normally automatically deleted after use.
You could use this for things like doing a tool change or starting the spindle.
Almost anything that you would put in a program can be done in MDI.
It is usually used once and thrown away, not really environmentally friendly single use program.
Most controls have a way of converting this MDI program into a permanent one to keep in memory. Fanuc uses program O0000 for MDI and it’s a bit like a clipboard. You can change this program O0000 to a real program number like O0001.
Some operators only use MDI for tool changes so you might want to keep the code there for whenever you need it.
Moan Moan Moan
On a Fanuc control you have to put an EOB (end of block or semicolon) at the end of the line of code to make it work. Otherwise you get an alarm. Drives me bonkers.
Digital punishment
Memory/Auto/Full Run
This mode can have different names but it’s the mode where you get to run your programme.
After selecting the programme you want to use select this mode.
When you press cycle start the programme will run.
And that red button at the side there is feed hold, it will halt the programme movement but it won’t usually stop the spindle from rotating.
Drip Feed/Tape
This mode is usually for running direct from a Memory Card or PC and it varies from machine to machine. Some will run direct from a floppy disc.
It is for those massive programs too big for the machine memory. Some really old machines will even run a paper tape.
Drip feed is a bit like lying under a beer tap and slowly getting pissed.
Anyway you don’t need to worry your pretty little head about that one at the moment.
Picture of a floppy disc for our younger viewers.
Let’s get on to the interesting shit.
CNC Help Edit
Edit well it’s kinda when you edit….
Yes it’s when you alter the program. In the edit mode you can look at any of your programs stored in your machine and Edit them.
There are massive differences in what you can do depending on your CNC control. Don’t get me started on this one cos I think CNC Machines have been in the stone age on this one for years. Now I’m not going to mention names but even simple things like copying programs can be an absolute piece of shit.
So if your used to the power of editing on a PC get ready to go back in time. Most new machines are pretty good on this now but it’s taken a long time and I still find it really convoluted and counter intuitive. (I don’t know what either of those words mean).
Here is a short video on how to copy and paste on a Fanuc 18i it’s very similar on most oldish Fanuc controls. (Excuse the long intro on the video but I am trying to flog records as well here).
Editing in its simplest form is INSERT ALTER and DELETE.
These are self explanatory but I have put a nice little gif above just to hold your attention.
Most modern controls will have FIND and REPLACE. It is well worth learning to use this because it guarantees that you don’t miss any figures in your programme.
Like if you had X57.65 in your program six times if you use FIND/REPLACE to change em all to X57.66.
You are sure to catch them all and you can be sure they are all accurate. Even if you altered em to the wrong figure at least they will all be the same.
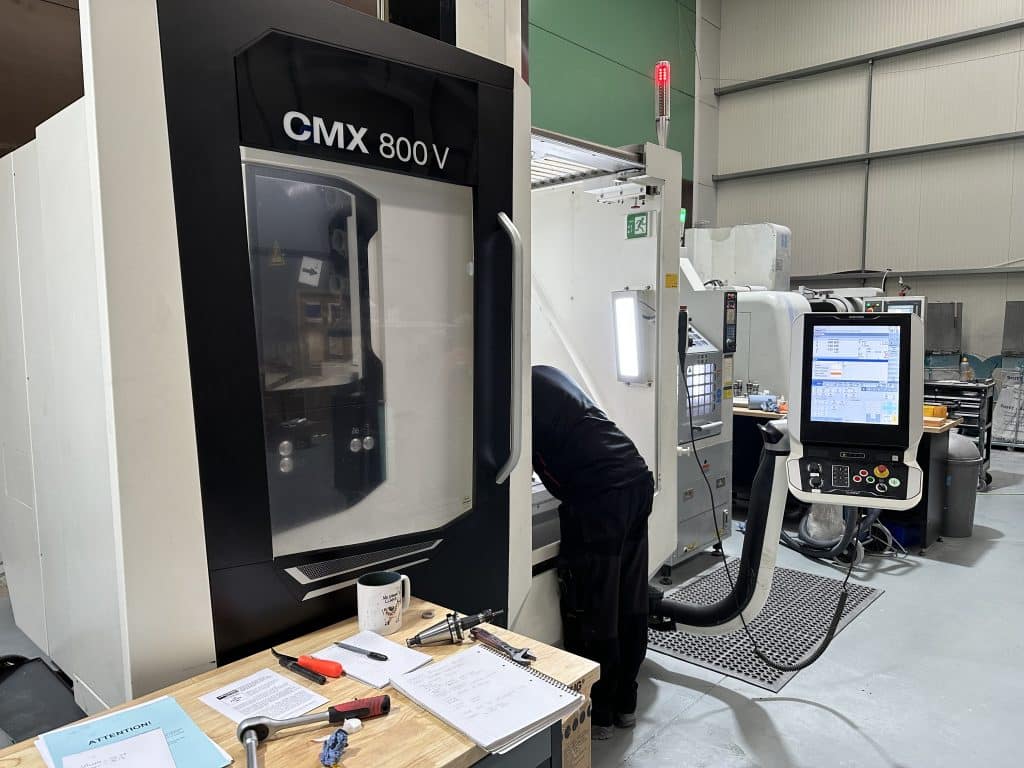
DMG Mori CMX 800 V Review: The iPhone of CNC Machines
This is my honest DMG Mori CMX 800 V review, written after getting back behind the control and remembering all the little rituals this machine expects you to know.
This machine is gorgeous.
The first time I saw one was at the NEC quite a few years ago. I remember looking at it and thinking:
“This thing is beautiful.”
To me, it brought CNC machines properly into the 21st century.
This is definitely the iPhone of the CNC machine world.
Even the handwheel is sexy. Yes, I know.
I’ve reached the age where I’m describing a CNC handwheel as sexy. Things could be worse.
When You Know, You Know
Something that annoys me about modern CNC machines is the rigorous protocol you sometimes have to follow to do the simplest bloody thing.
This machine definitely has a few of those little rituals.
I think I now understand the expression:
“When you know, you know.”
Because until you know, you haven’t got a fucking clue.
I was genuinely excited about working with this beast.
That excitement lasted right up until I couldn’t get the handwheel to work.
Fortunately, I always allow plenty of time to get back into using a machine I haven’t seen for a while.
Partly because machines have their own quirks.
Partly because controls change.
And partly because my memory now works like an old Windows computer with twelve toolbars installed.
There are half stations so you can get special holders that cover two stations.
The other option is to space the tools out like a twelve station turret.
I mean these tools are like elephants in a fuckin lift meaning you don’t have much clearance.
You need to look out for the tool below if you do decide to cram more tools in. If you know what it’s like to run out of tool stations then you won’t mind compromising a bit.
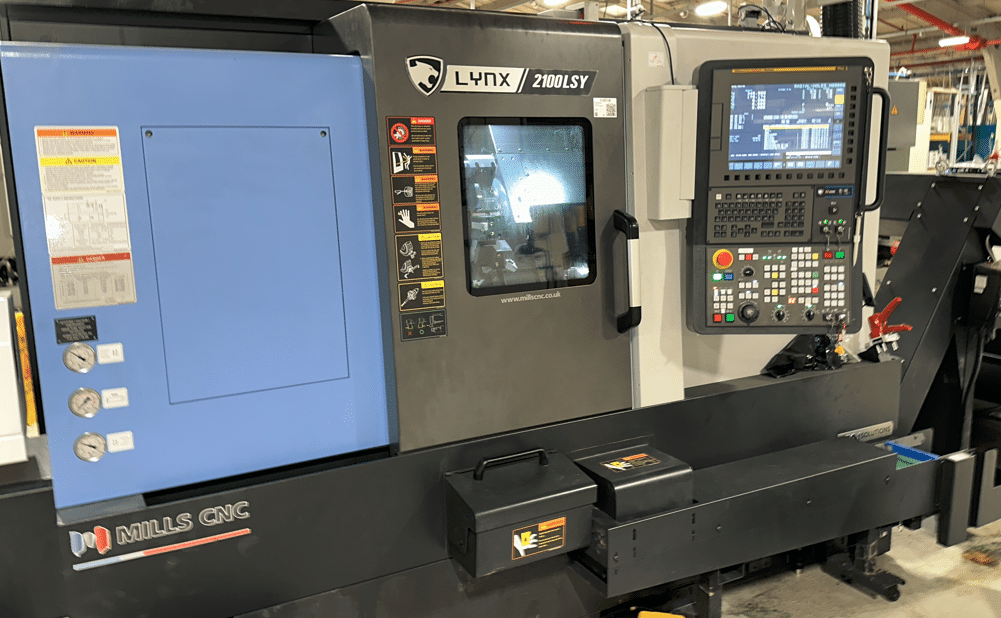
Congratulations Mr and Mrs Doosan on the Doosan Lynx 2100 LSY, it might be a compromise but it works well.
Fanuc Speed Amnesia
Why can’t a Fanuc control remember the speed.
Age old problem, you try to start the spindle in manual and it sits there fuckin laughing at you. So you have to go into MDI and start the spindle or just give it a speed before you can manually start any of the two spindles.
Speed amnesia so bloody annoying, come on girls give us a break. Logically if you have to start the spindle in MDI is there really any point of a manual spindle on off button. Mmmmm.
Icons I hate Icons
I can never remember what all the buttons are on these machines. What chance has someone who’s only experience of working a machine was in Costas
Anyway I have a labelling machine so I stuck em everywhere. Does it really cost that much money to have different button on a machine for an English speaking country than say a French one?
I could sell Doosan my labelling machine, maybe that’s the solution.