Heidenhain The Best Bits
Category : Heidenhain
There is some great shit on a Heidenhain 530 and 640 controls. So lets list them. If your not using these features then you certainly should be.
Heidenhain Filter File Type
When you switch from Edit to Program Run or Test Run you need to select the program you want. Unlike Fanuc when you switch from edit to program your program is not automatically selected.
This button to the rescue.
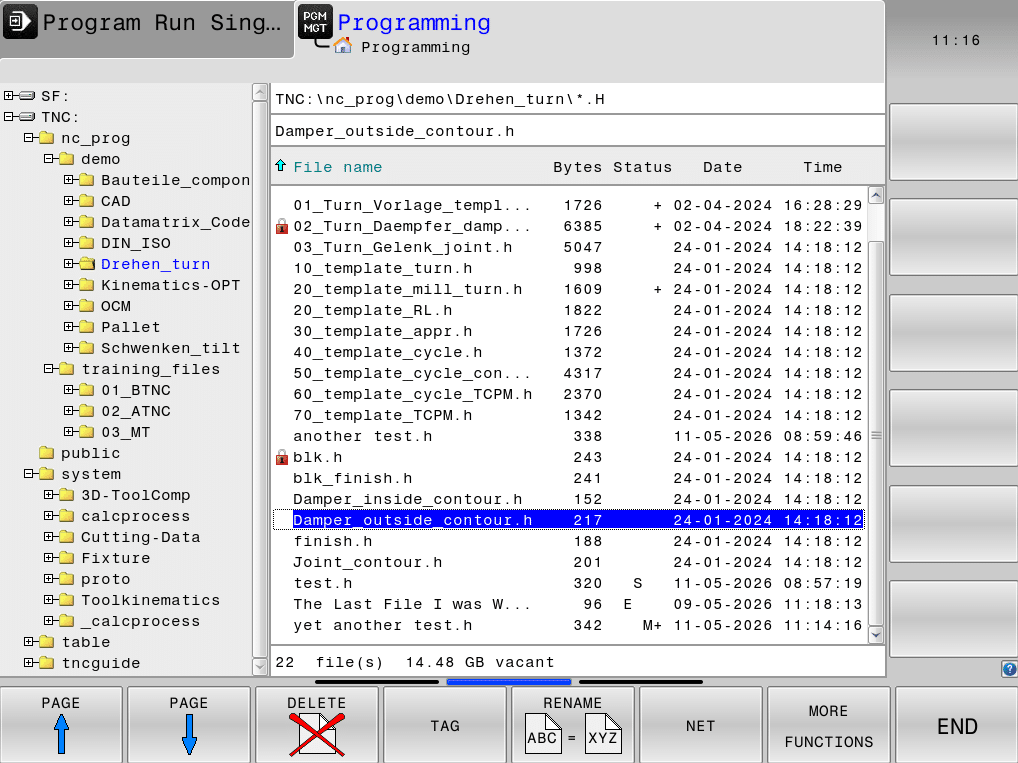
Select your mode for example Test Run then press PGM MGT

You will see this screen
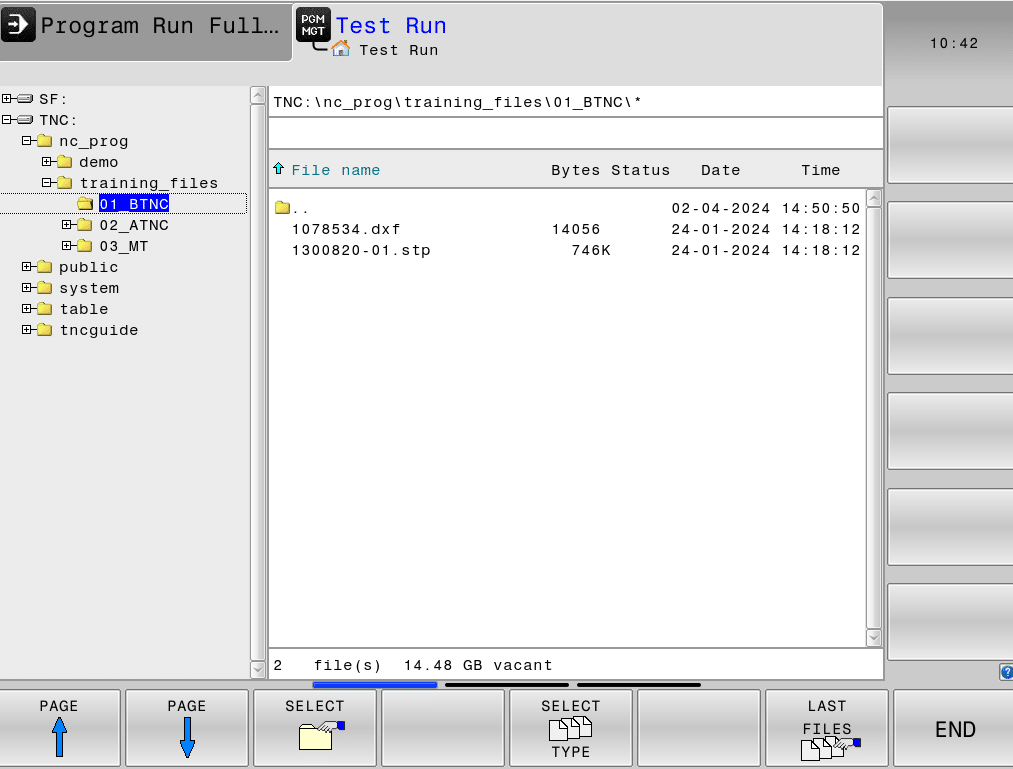
There are two buttons here that on a personal level get me in an absolute frenzy.
SELECT TYPE and LAST FILES
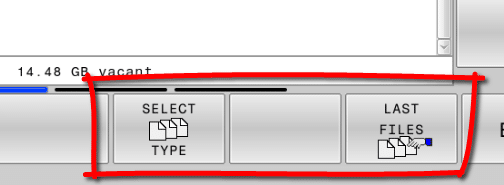
Press SELECT TYPE first.
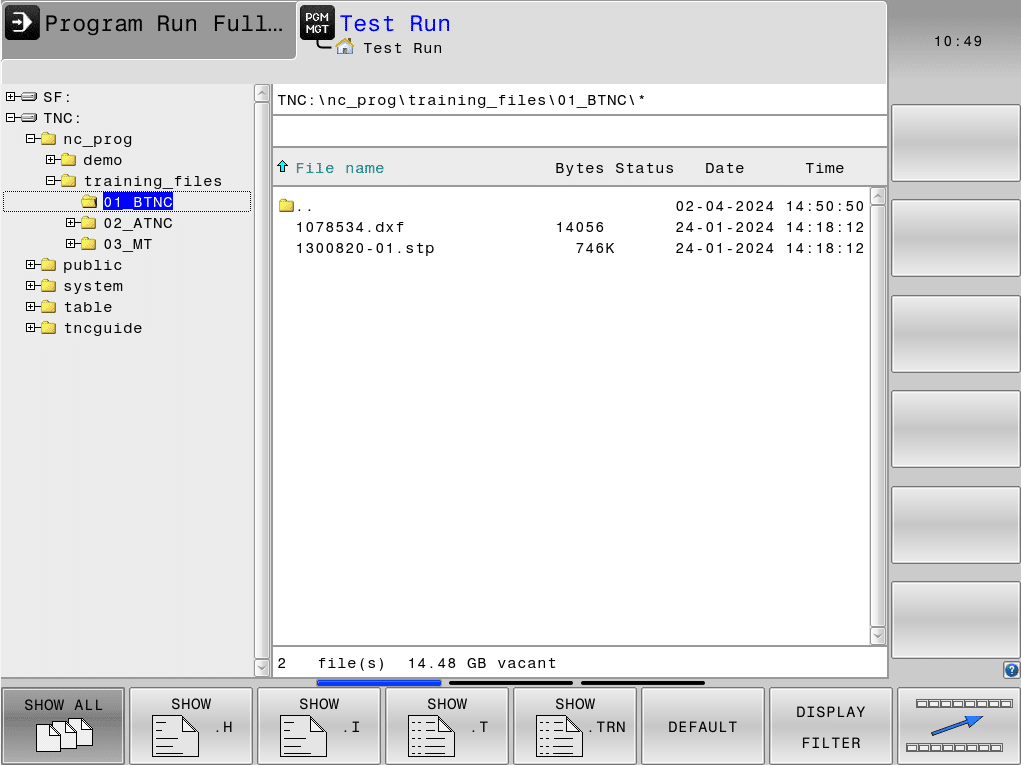
From here you can select the file type you want to display, best to chose .H which means you will only see the Heidenhain files.
It also means that when you create a file by pressing NEW FILE (in the edit mode) you get Heidenhain by default not ISO G code.
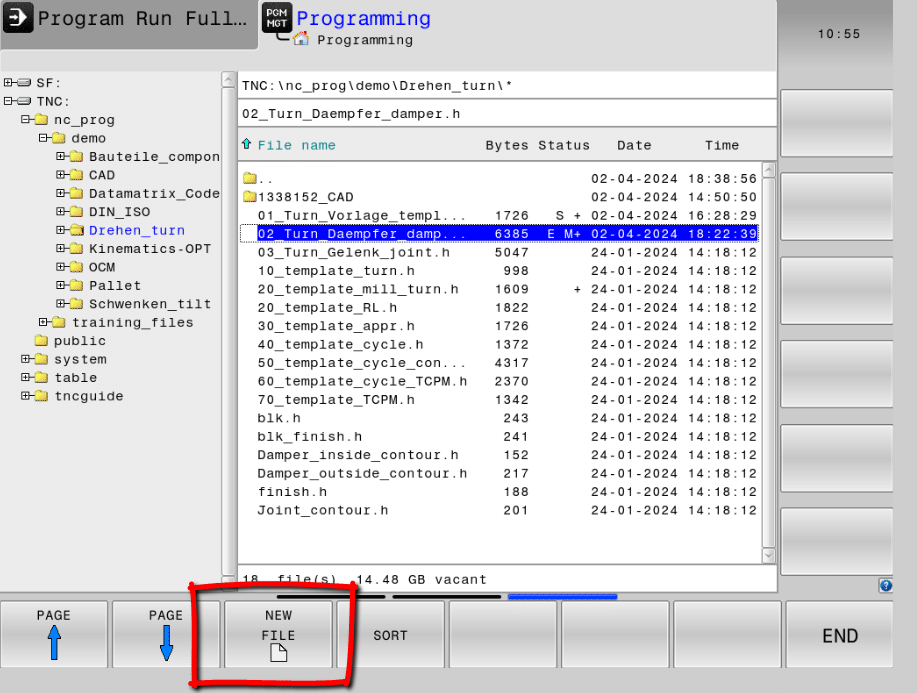
Any program you create will automatically have the dot H extension meaning it will be a Heidenhain file.
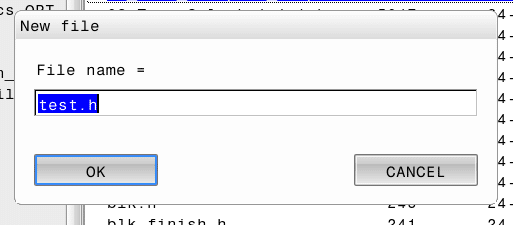
Just write it in and the dot H will be added.
It also makes it a lot less complicated when looking for programs as you won’t see all the other stuff.
Heidenhain Quick Acess to Last File
Now onto the next little beauty LAST FILES
Go on give him a nudge, he’s your best friend.
What this does is give a list of all the recently used files, so yours will most likely be at the top, or at worst very near.
If you are using a lot of directories and shit. This will make it very simple and you wont have to trawl through loads of folders to find what you were working on.
Therefore when you switch modes you can instantly get the last file you were working on.
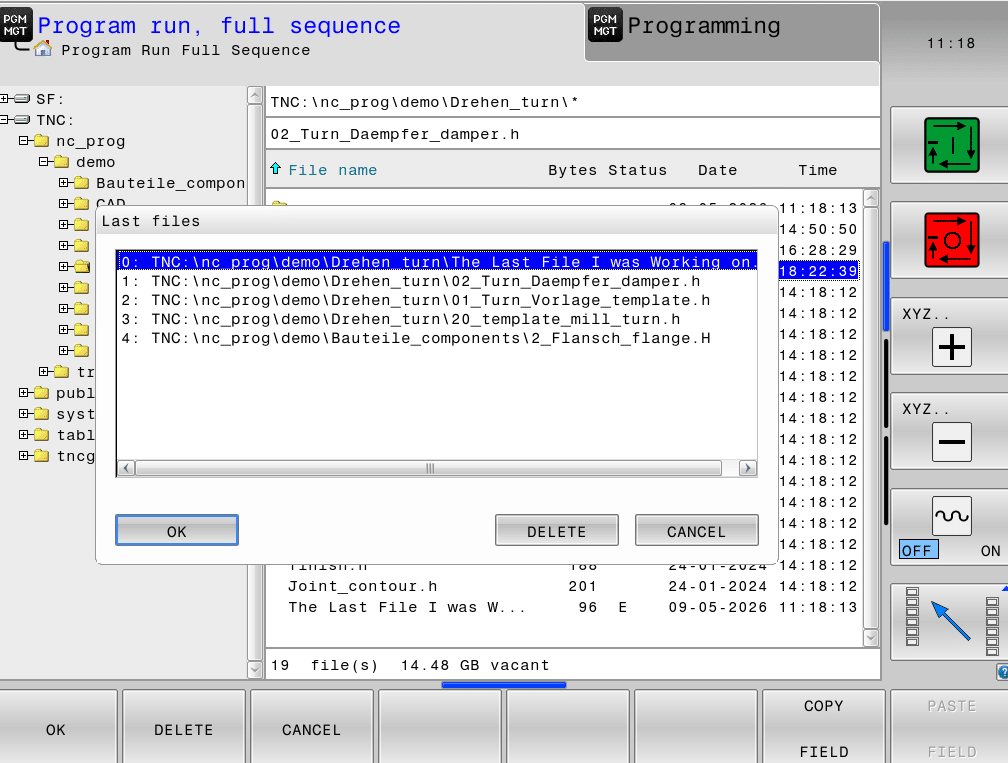
All you need do is press OK.
Heidenhain Are You Unprotected?
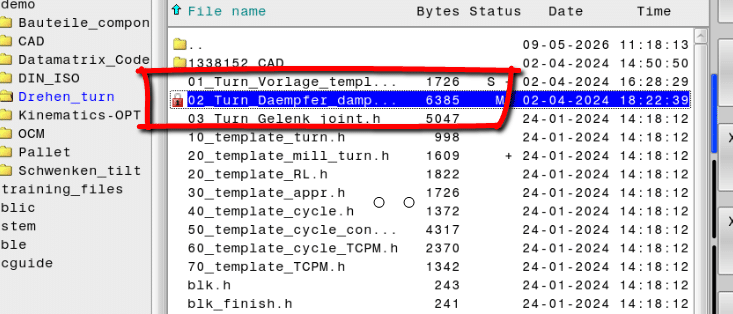
Oh yea another thing, cursor across and you’ll see PROTECT and UNPROTECT.
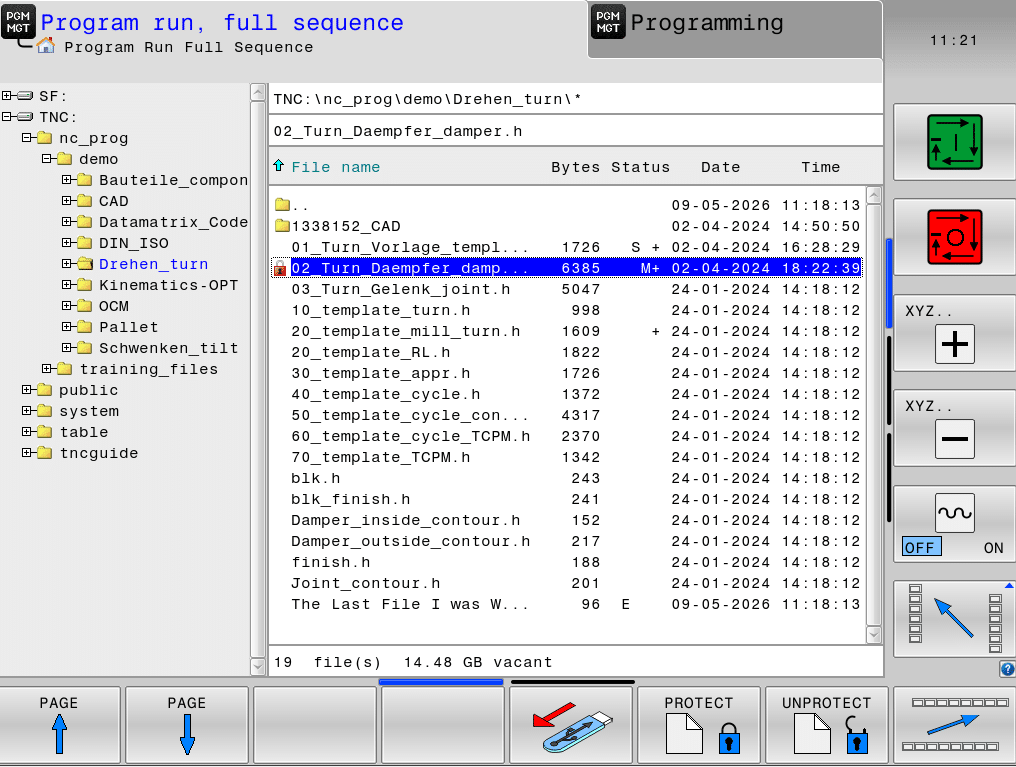
This puts a little padlock next to your program. This stops that naughty apprentice from deleting your programs, unless of course he really wants to.
Don’t just Whip Out Your Stick
Now if you are an upstanding honest citizen you will know that you should never just whip out your stick. Especially in a crowded bar.
Always safely disconnect your memory stick not just yank it out like some decaying tooth.
You might need to press the MORE FUNCTIONS button first.

You’ll love this button if you like to do things properly.
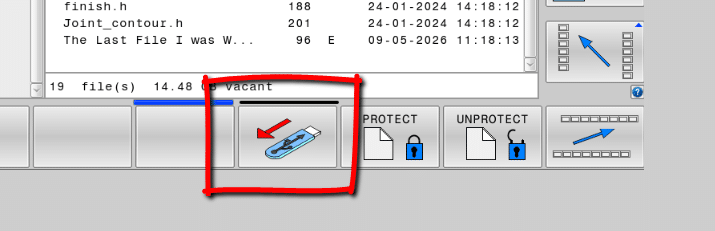
Just press it, you never know it might save you from wiping a memory stick clean.
Undelete, (Well Kind Of)
You can restore a program back to how it was before you got your little mitts on it, just press CANCEL CHANGE.

These boxes will be greyed out. This means the document is the same as when you opened it up.
Once you make a change it looks like this.
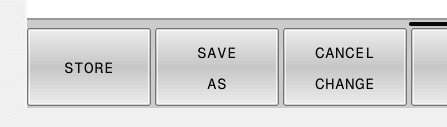
If you press CANCEL CHANGE your document will go back to how it was when you originally opened it. These buttons will be greyed out again.
If you press STORE then you document will be saved as it is and you wont be able to restore it.
Can be useful for old gits like me who often can’t remember what the were doing. It’s useful just to go back to when you first opened the program.
SAVE AS and Why Not?
The SAVE AS button is also very useful if you want to keep your original document and start with a new copy.
Now you might be thinking all this is no big deal. Well actually you are wrong because you can’t do any of this on a Fanuc control or a Haas
The Devil is in The Detail
Loads of stuff we don’t look at every day, and I’ll admit to being the worlds worst.
Sometimes I’m on the phone to my mate and my wife will say “what did he say”. I’ll say “don’t know wasn’t listening”.
I mean I admit my friends are incredibly boring but maybe I should pay more attention to detail.
Not suggesting you do what I do and it’s probably the main reason why I have no mates, other than you guys reading this.
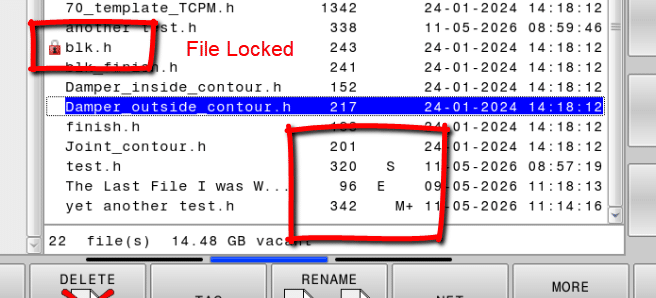
But here is an example if you look in the directory it will tell you the program that is active in Edit, Full Run and Test modes with the letters M E and S.
How cool is that?
M (Memory)
E (Edit)
S (Test Run)
Padlock (File Locked)
Tool Names
Using tool names as opposed to numbers means you can select them directly from the tool table. This is a much quicker way.
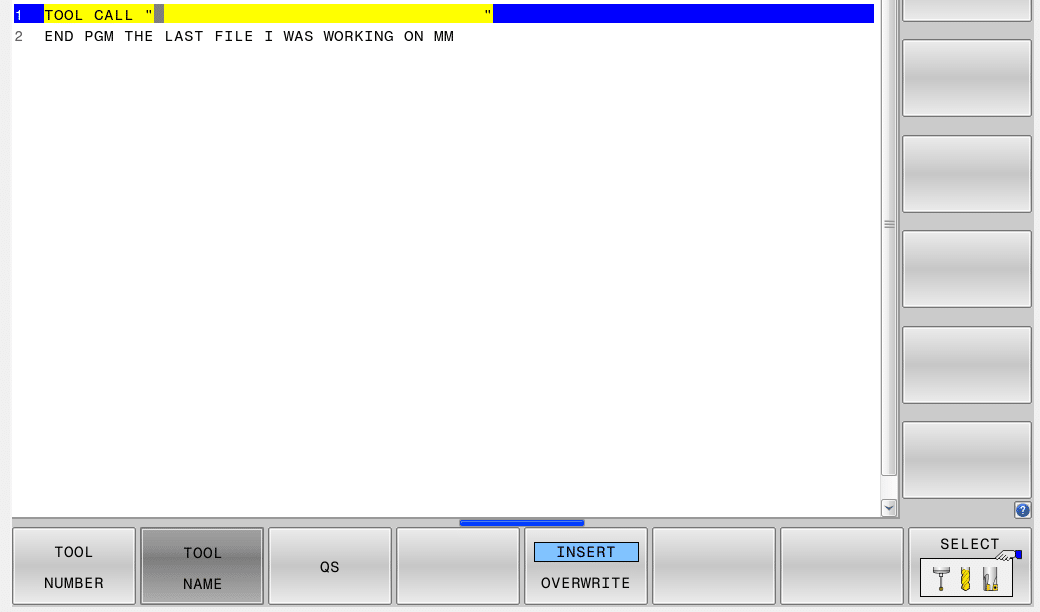
After TOOL CALL press TOOL NAME
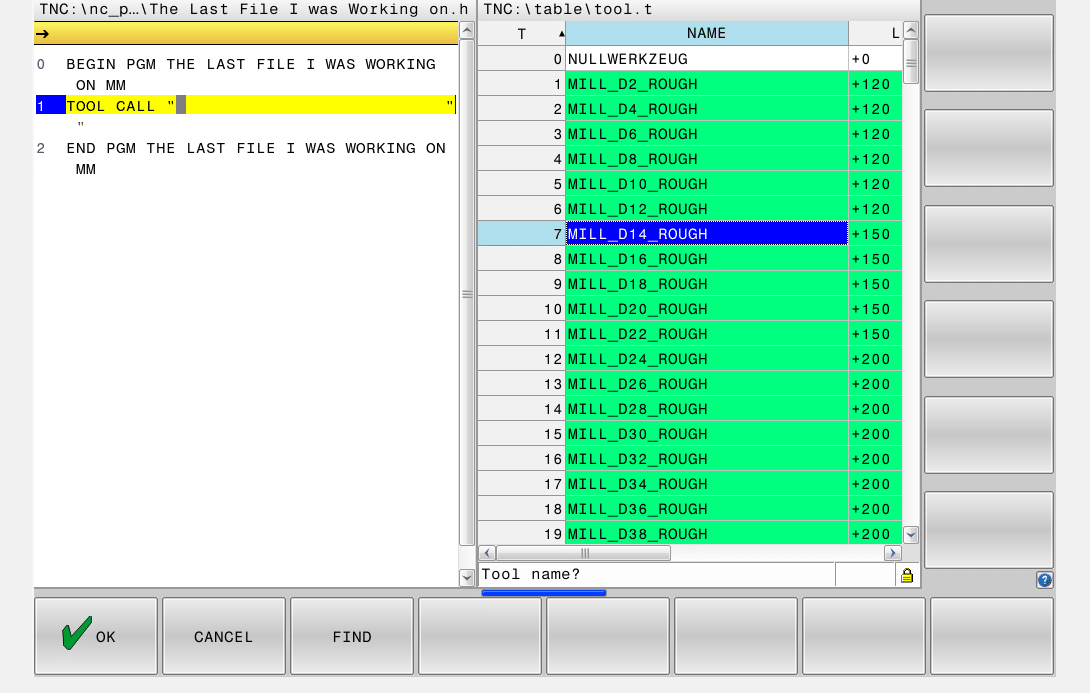
By pressing SELECT you can pick at tool straight from your tool list.
LBL NAME
When using labels why not use something that you understand?
Just press LBL NAME

Call your Label “6mm Holes”

Makes your program more readable.
What The Fuck are These For
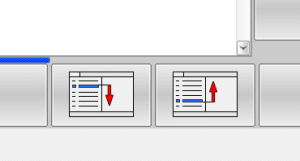
In a nutshell it means you can look through the program but keep your cursor where it is. So you don’t loose where you are.
Useful, Mmmm maybe?
You decide.


