Loading Tools on a Doosan DNM

30 five star ratings on Google (just saying)
There are several ways of Loading Tools on a Doosan DNM. The first is the most simple. Don’t forget this is random tool changer so it’s no good looking in the tool drum. Read this article first if you don’t understand how a random tool changer works.
Just call out the tool you want for example T6 M6 and then load your tool. Your tool has now become T6.
M45 To The Rescue
The other way of Loading Tools on a Doosan DNM is to use M45
Loading Tools on a Doosan DNM Access Tool Table
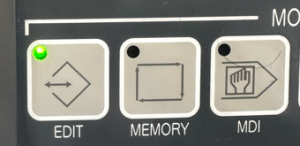
So to acces the tool table on a Doosan DNM press this button.

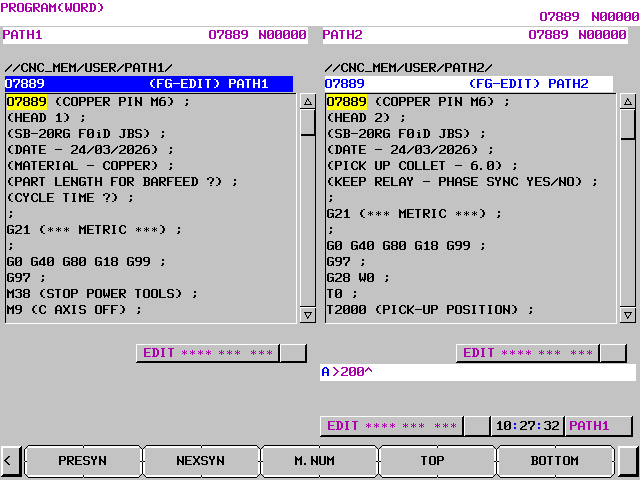
This screen is displayed.
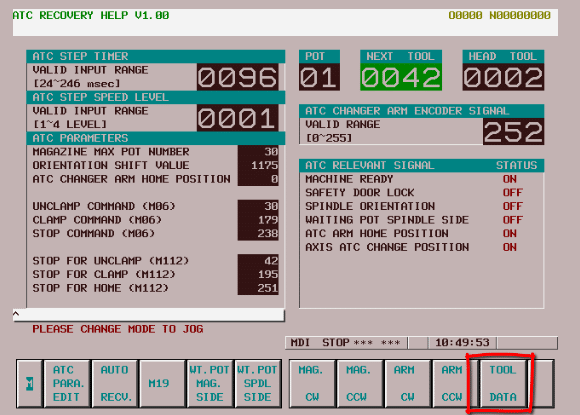
Press TOOL DATA button
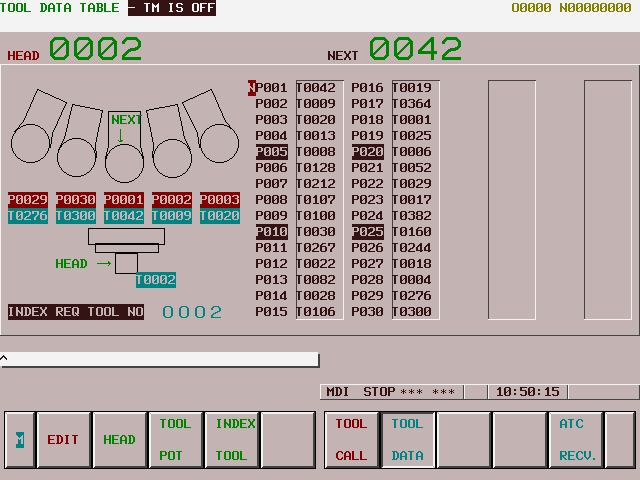
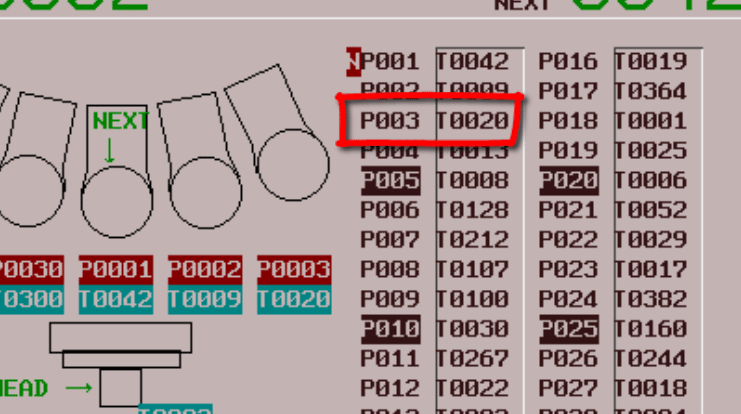
This is your tool table that tells you where everything is in the Doosan Tool Drum.
This tells me that T20 (Too20) is in pocket 3 (P003).
Love It Or Leave It
From this screen you can decide what tools you want to keep and what tools you want to replace.
It’s a good idea to keep an actual list of what tools are in your machine.
If I wanted to use pocket three then call it in MDI tool 20 (M6 T20).
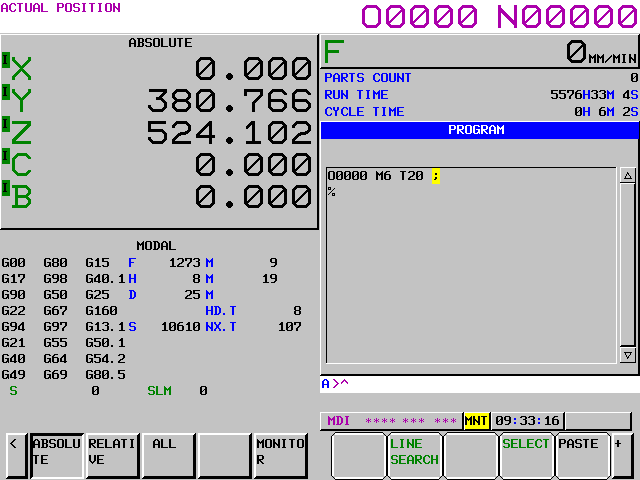
Now you can load your tool, if the pocket is empty, or exchange it with this tool.
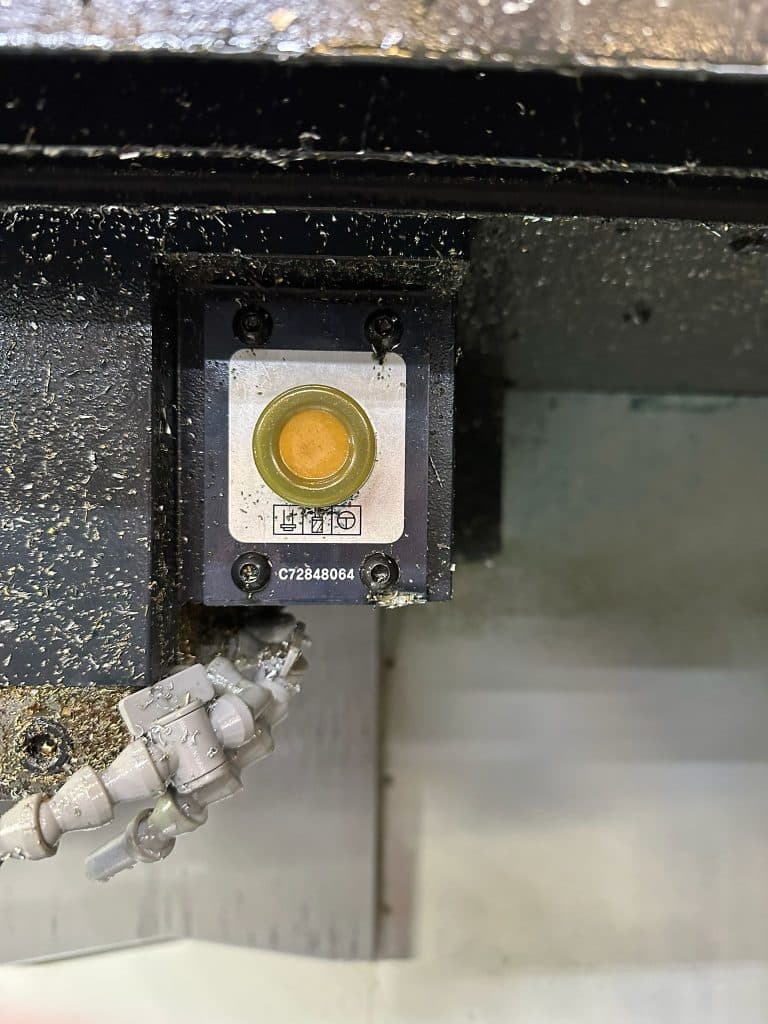
This button will release the tool if you are in a manual mode.
The tool can be heavy or stick in the spindle so be prepared for it to drop. It may be heavy so you could put a piece of wood under it to support i
From now on your tool will be tool 20 (T20).
Please don’t call it anything else because it will just ignore you.
Loading Tools on a Doosan DNM M45 to the Rescue
You now have the opportunity to change this tool number.
If you have a large tool database then it is sometimes useful to use the numbers in the database.
M45 will effectively change the tool number in that pocket M54 T203 means your tool will from now on be known as T203.
M6 T203 will get your tool. Don’t forget it’s now using offset 203.
This applies to you H and your D offsets.
Check you have enough offsets as these are extras so you may be limited to 400. This means the maximum tool number you can assign is T400. If you want more then you need to talk to Fanuc
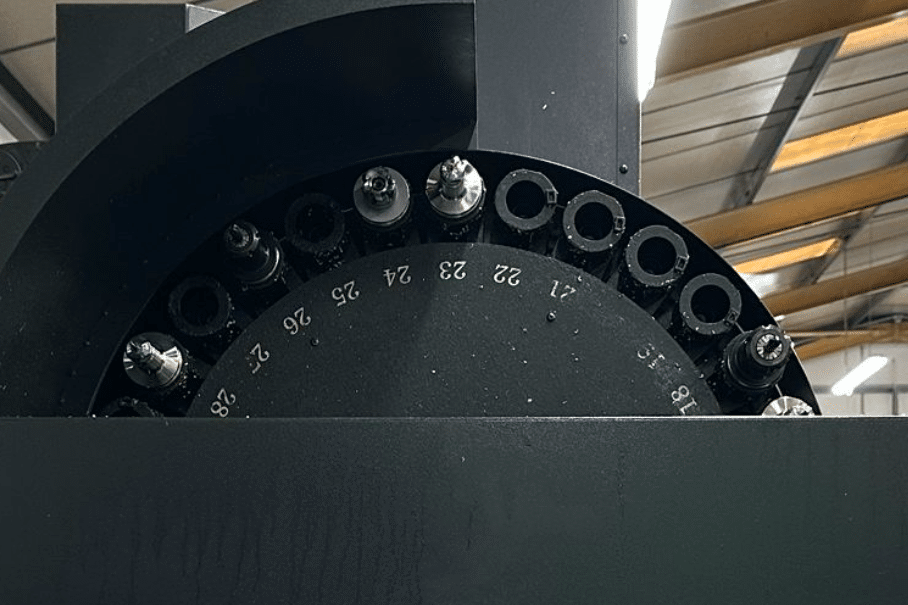
Loading Tools Doosan Tool Drum
So, as above call out the tool referring to the tool table.
Replace your tool with the one you just called out.
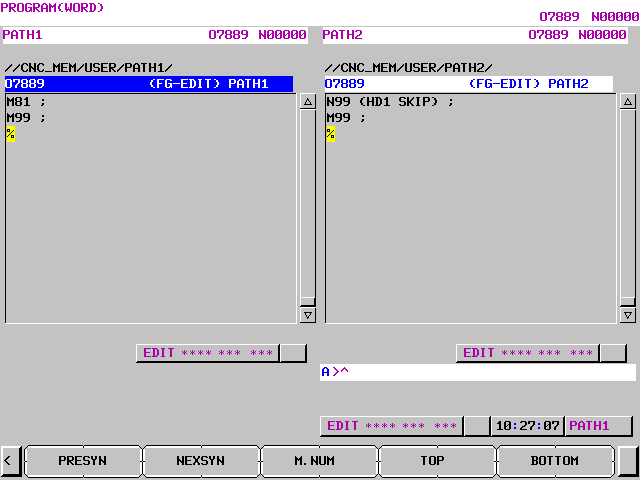
Now in MDI input M45 T60.

If you require training on your Doosan machine call us.