Tool Offset Measure Button Haas, Useful or Relic?
Category : Haas
Tool Offset Measure Button on a Haas Machines, Useful or Relic?
Call David: 07834 858 407

30 five star ratings on Google (just saying)
This article is about the Tool Offset Measure button on a Haas machine.

I first worked on Haas Machines around 1996. The most amazing thing about Haas machines back then was the price. They were cheap, very cheap. At that time the cheapest CNC Machines were like the cost of a diamond studded jockstrap. But the Haas, well as I said it was cheap.
Everyone thought they were made in some far flung country by Santa’s Elves being paid the minimum wage and fed on reindeer shit.
Actually they weren’t. The reason I’m told they were so inexpensive was because they kept the specification of each machine the same. This made them simpler and cheaper to produce.
I fell in love with those early machines and they certainly earned their keep. The control was like a Fanuc that had been given steroids and a rocket up it’s arse for good measure.
Giving People What They Wanted
It was like someone had heard all my criticisms of CNC Machines and granted my wishes

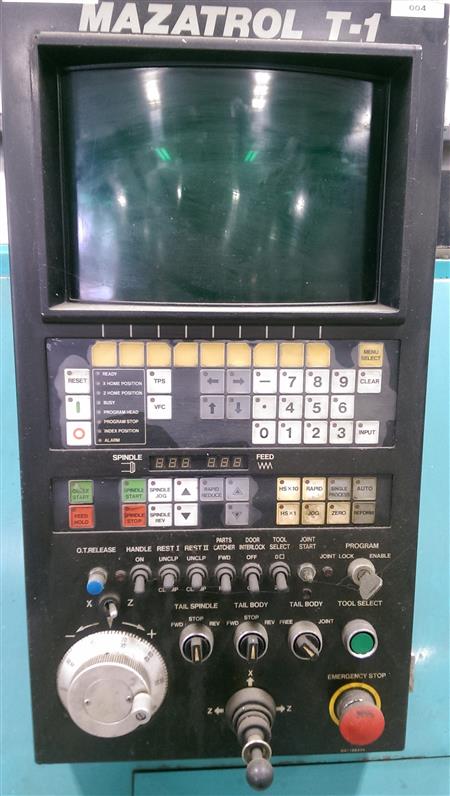
The way that we trained people in those days was to use the tool offset measure button.
What you did was you touched each tool on the top of the component and pressed this button.

(Sorry about the shit picture couldn’t be arsed to find a better one)
It duly recorded the offset value for you.
So what you are doing is recording the distance from the end of the tool at its zero return position to the top of the workpiece.

This gives you a minus figure the size of a compulsive gamblers bank balance.
Problems
Ok so this works well but there are two problems. Actually no there a three.
- You can’t use a tool presetter.
- You can’t roughly check this figure by getting a ruler and checking the tool length.
- (And this is the big one) when you set a new job you need to do it all again.

Now I could be being really stupid here, and if you know me you are probably saying “well he is a bit of a dick”. Anyway from that day on I’ve avoided this button like Donald Trump avoids wind machines.
A couple of weeks back, when my restraining order was lifted, I was allowed back on a Haas machine to do some training.
They say you learn something new every day well this day I was about to learn about setting 64.

What this setting does is it allows for whatever work offset you are in when you press the Tool Offset Measure button.

So what you do is you get your setting block and you touch your spindle nose on it (I used a 6 inch block of slips).

One of these is even better.

Then set this in a work offset that you don’t use like G59.
Offset Is Actual Tool Length
- So when you want to measure a tool.
- Call out G59 in MDI.
- Touch the tool on the top of the block.

Press the button

And guess what you get the actual tool length. 
If you use a tool presetter just tweak the G59 Z figure until it ties in exactly with your tool presetter.
Thanks for watching and reading
If you have been affected by any of the issues in this post or need CNC Counselling then contact me.
Or call us on
If you want to learn to program CNC Milling Machines
Look no further Contact CNC Training Centre