Sinumerik Training, with Siemens Sinumerik there are many ways to call a subprogram. Subprograms are a really convenient way to repeat a piece of program.
You could have an incremental program and call it in several places. You could profile the outside of a part with two different tools. One for roughing then one for finishing.
I’ve wanted to get my hands on a new Haas machine for a while. Really wanted to see what the new control was like.
Stiltz provided the machine and the victims for the training.
If you have read any of my articles you will know I have always had an affection for Haas machines. The first one I ever worked on being about 1994. At that time they were nothing short of ground breaking innovation.
Things like a built in airline and coolant wash-hose were not only innovative but really useful.
Coolant Hose (What Will You Do With This)
A machine that worked straight out of the box. Easy peasy tool-change. Handwheel to scroll through the program, people still get impressed by this today.
Programmable coolant nozzles, fuckin hell that was a game changer. Just move nozzle to a position and press an F key and it’s stored with the offset.
Macro at no extra cost (wow) some people wanted two grand for this (cost of a good family car in 1995)
Program restart still the best in the world, don’t get me started.
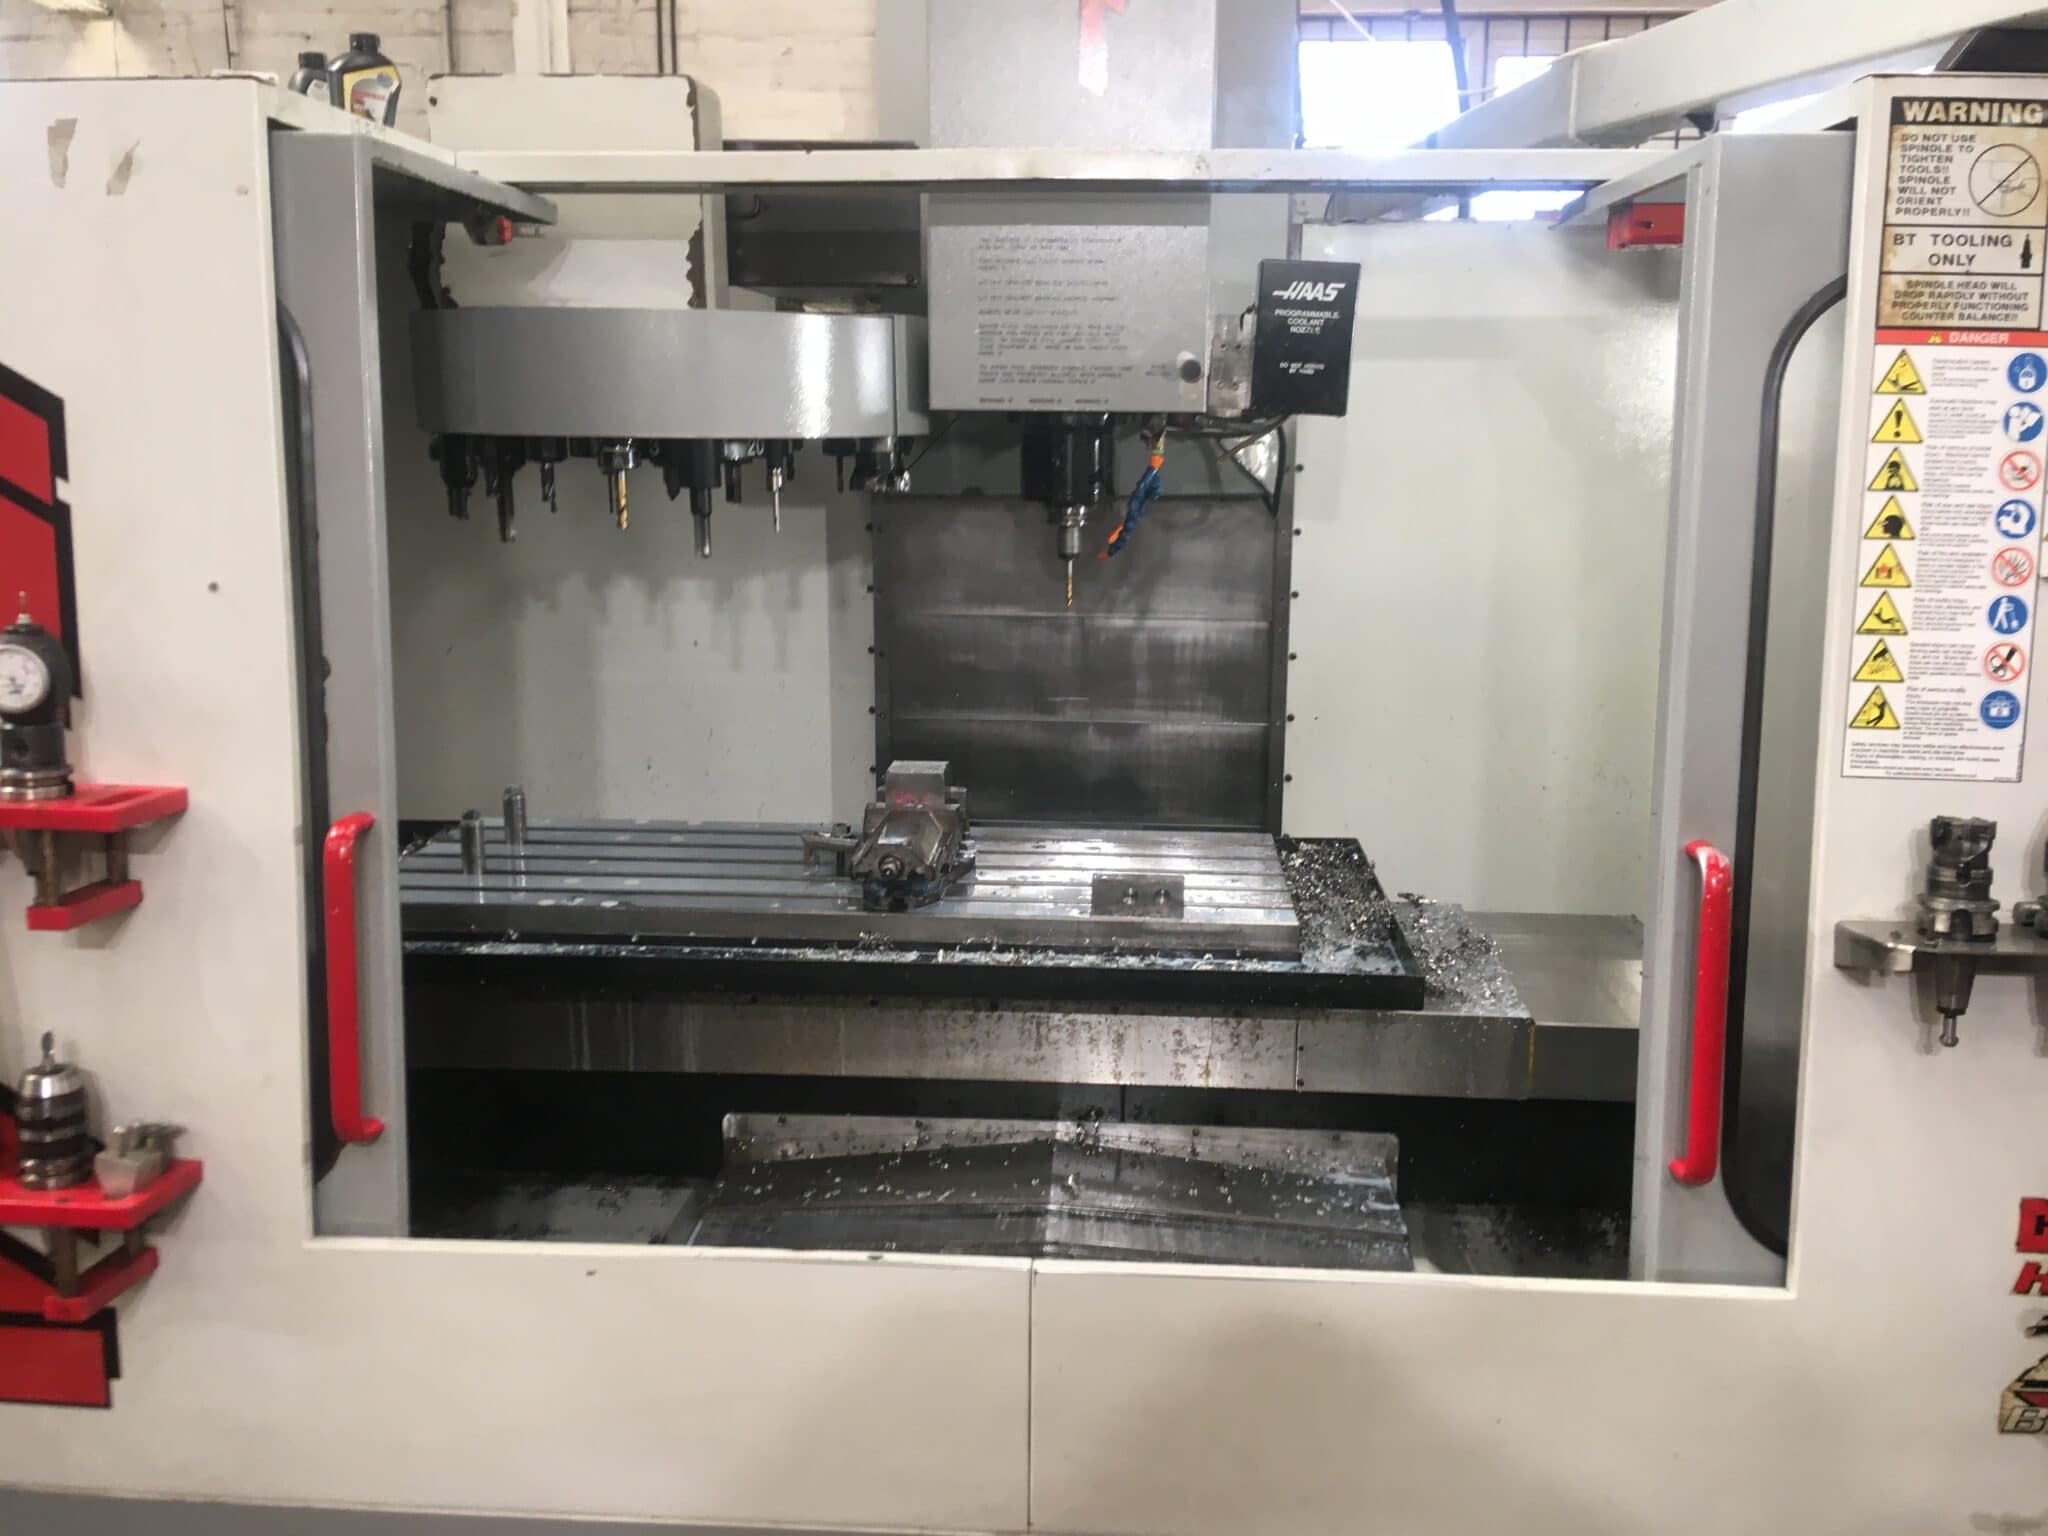
The New Machine David How Was It?
To start with on this one I didn’t like the interface but it does grow on you. You need to get used to using the touch screen. Access to some menus is a bit convoluted too.
This Haas Mini Mill has a 10k spindle and 30 tools.
Something I suddenly remembered about this model. Well you know when you get a cup of coffee and it’s in a tall tapered glass mug? You are thinking “nice big cup of coffee”. You take four big swigs n it’s gone, shit what happened. What happened is an optical illusion because the cup is tapered it’s actual capacity is that of a thimble.
It happens all the time everything comes in a great big box with loads of packaging and the actual item is minute.
Anyway try moving this machine to the end of it’s stroke in X. Fuckin hell what a disappointment I recon you can only move around about half the table. I mean great you can put a pretty big part on here. That’s great so long as you don’t want to machine it!!!
It definitely is not what you expect from the company that’s known for pragmatism. Anyway that does piss me off.
The way this machine is being used is running programs from a memory stick. At first I thought it was a bit crazy as the programs weren’t particularly big.
Anyway surprise surprise it works well. Just plug in and press load and it runs. But what about editing you ask. No problem you just do it. Same as normal.
Program restart, no problem works exactly the same as when running from memory.
This week I got to train two people on a Haas VF3, and what a delight it was. This machine was old I mean 1996 but still a great functional machine tool.
I like to see myself in a similar way, really old but still functioning, well at least as I write.
It took me back to when I first set up my business of training people on CNC machines. My first two victims were at Armitage Shanks in good old Wolverhampton.
1996 was the year I started out on my own CNC Training and these were the first machines I trained on. I did so many I got pissed off with the sound of my own voice (which I rarely do).
Because all the machines were the same I was saying the same things and quoting the same tired old anecdotes day after day.
Fortunately, I went on to train on all the well-known CNC machines like Mazak, Mori Seiki, Matsuura, Bridgeport to name a few. Quite a lot of the not so well-known ones like Maho, seen below.
The machine above has a Phillips control and they were the absolute dogs’ bollocks. It even had rigid tapping. You could hit feed-hold while it was tapping and you got the option to reverse the tap out! Training people on these was an absolute delight.
Don’t forget we’re talking mid 80s here.
Shut up David this sounds like a big plug for the CNC Training Centre, or maybe it is.
CNC Training Centre (Home of the CNC Program)
There is pub by us and on the sign, it says “The Home of the Roast”.
You have to queue up to get your food and a young lad carves the meat in front of you. If he don’t like the look of you, which obviously with me he didn’t, you get two or three slices of turkey, so wafer thin, you can see the pattern on the fuckin plate underneath.
Now I don’t want to knock the people of Nuneaton, being as most of my family live there, but honestly there are some greedy bastards about.
After you get your meat and a few accoutrements you follow a long line of people adding cabbage and peas and all sorts of vegetables and potatoes to their plates. This bloke in front of me was scooping so much on to his plate it was flowing over. It was like a fuckin bowler hat as my late father would say, sans expletive.
In those days you didn’t swear in front of ladies, unless of course it was their turn.
I was just thinking “did you like not eat for a fuckin week?” You can imagine his kids at school saying to the teacher “oh, we’re not eating at our house this week miss”. The teacher then asks if this is some precursor to a religious festival or some such thing.
“Oh no miss, we’re booked in at the carvery for Sunday lunch” she gives them a knowing nod.
Anyway, I looked at this blokes plate with utter middle class disgust and vowed never to go there again.
My mate was about three people in front of this bloke and to my amazement my mate’s plate was so full of food, it made his look like he’d paid for the children’s menu.