Manual Lathe Warco GH 1439
Category : Manual Turning New Stuff
Makes a pleasant change to go back to basic on a simple manual lathe with a DRO (Digital Readout).
I think simple is definitely the wrong word as the level of skill needed to operate this little beast is very high. We are talking years of practice and developed skill.
Now I’m definitely gonna get trolled for this but most of the skill is no longer needed, just buy a CNC.
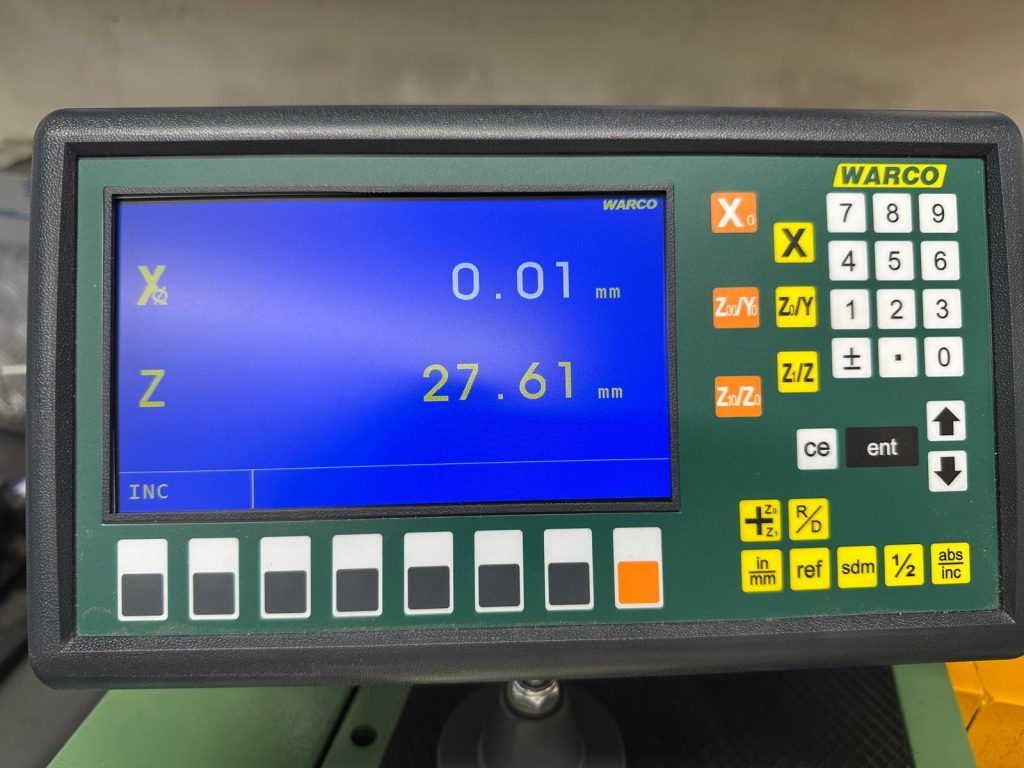
It is much better when you have a readout DRO (Digital Readout).
Trolled? I don’t even know what it means I just know it’s a bad thing on the internet and it hurts. The only troll I know of is in a fairy tale I used to read to my children.
Great story about some geezer under a bridge terrifying kids, what could be better?
Yes so sometimes it’s hard to let go of some of these hand skills we don’t need. But what these machines definitely do well is get you used to cutting metal and the overall feel of it.
If it’s a hard material you fuckin know.
Switch It On This Manual Lathe with DRO (Digital Readout)
To turn on this machine is easy just flick the isolator round.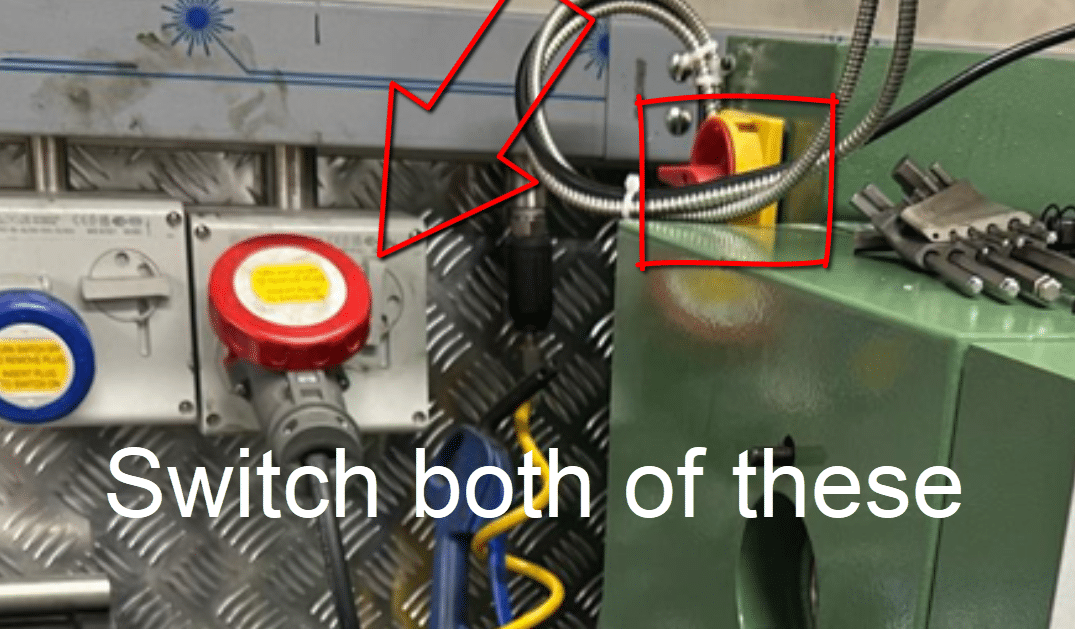
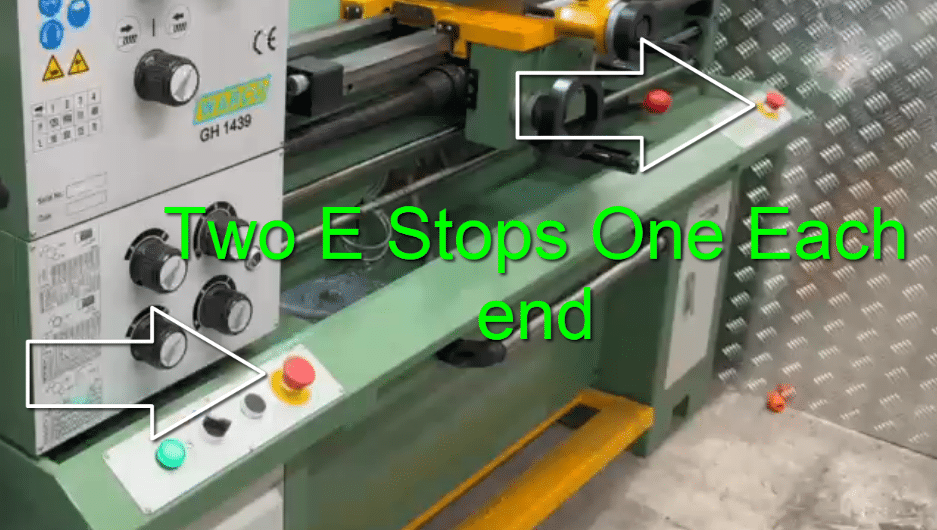
Make sure both Estops are cleared there is one at each end, rotate to release.
The DRO (digital readout has its own switch at the back you may need to flick this over, and after a few seconds it will burst into life.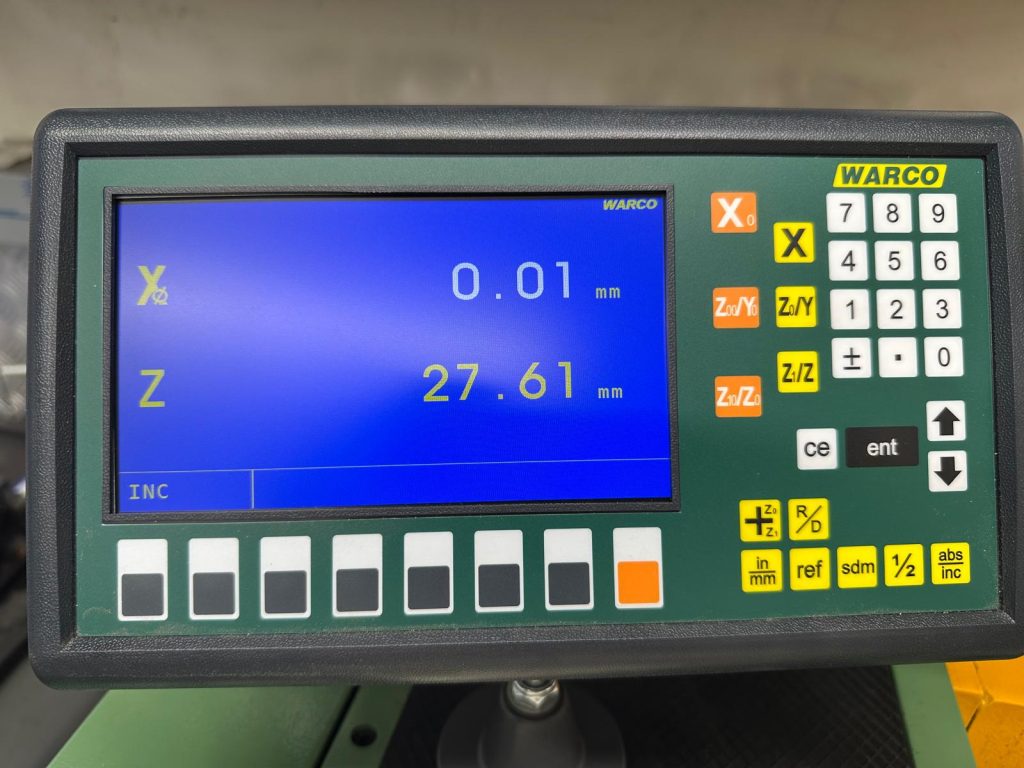
Safety First
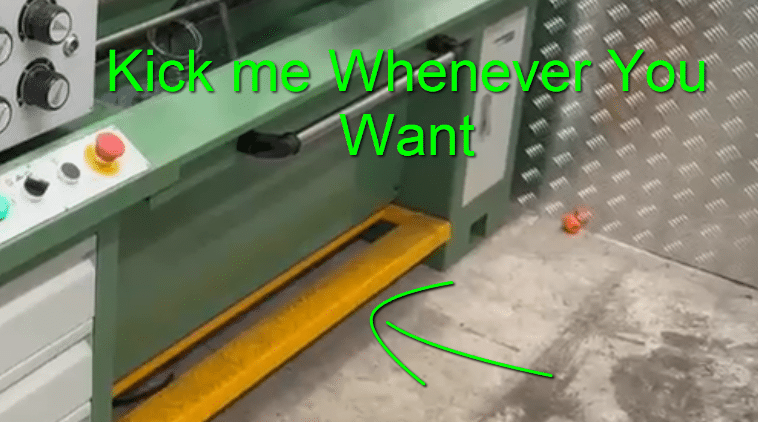
The yellow pedal is your big mate on a Manual Lathe. Press him at anytime and the machine will stop dead. In any dodgy situation keep your foot over this ready.
Spindle Start
To start the chuck rotating you need this red knob pull it to the right then up or down for clockwise or counter clockwise.
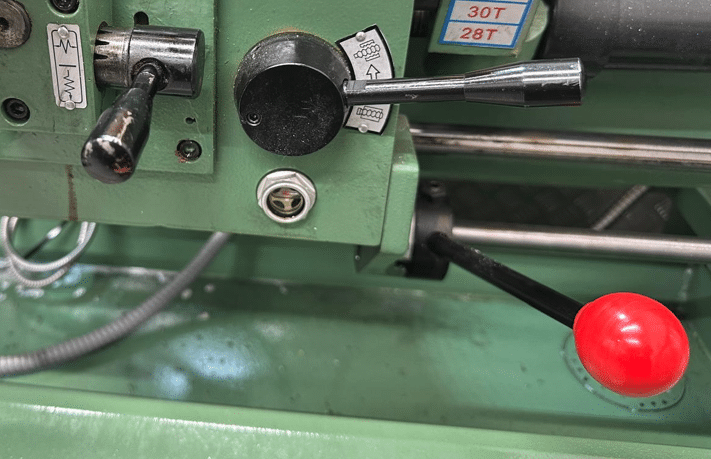
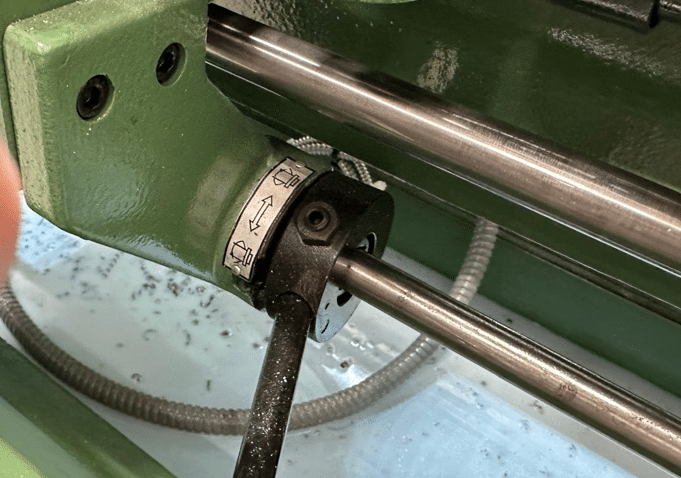
Pull it back to the centre to stop.
Two Guards and a DRO (Digital Readout)
The machine has two guards one around the chuck and one to protect the rest of the machine. The trouble is they fuckin hate each other. If you move the machine left to right when the chuck guard it raised it crunches and jams up and I’ll be honest it did piss me off a lot.
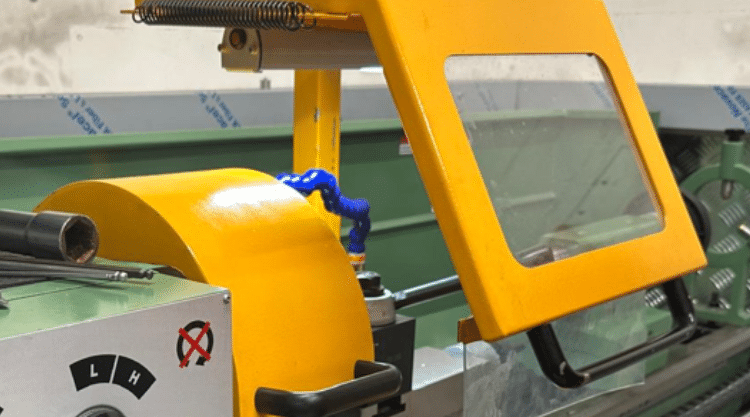
One good thing is if you open one it instantly stops the machine. Obviously it won’t start with them open. Visibility is poor so keep em spotless clean.
Not much you can do about this but live with it don’t mess with these guards on a Manual Lathe they are there to protect you.
To machine across the front face of the part.
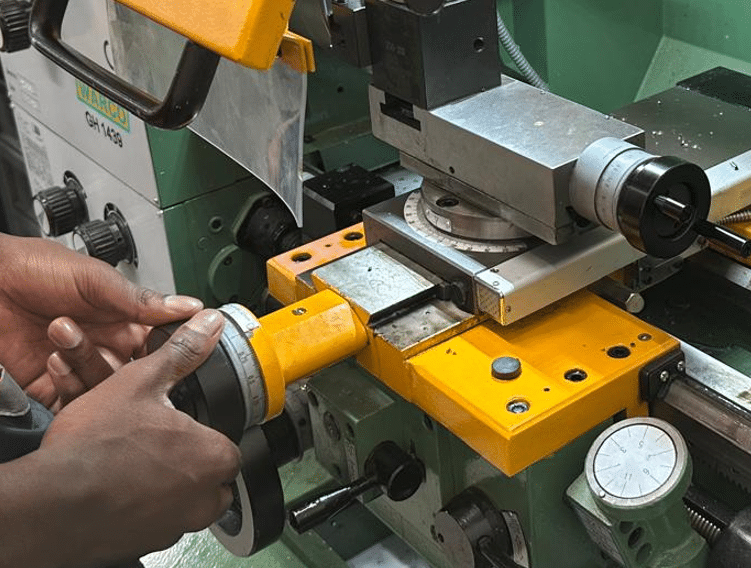
Turn the handle above. You will see the X axis on the DRO (Digital Readout) change.
We call this facing.
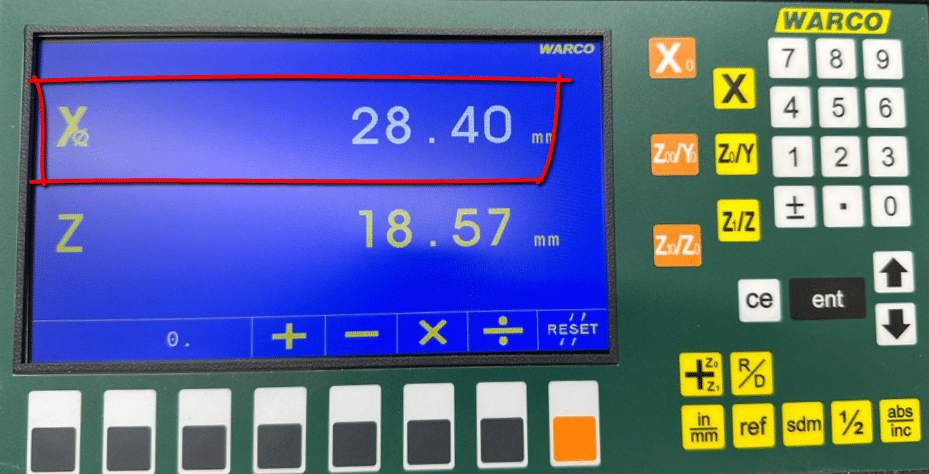
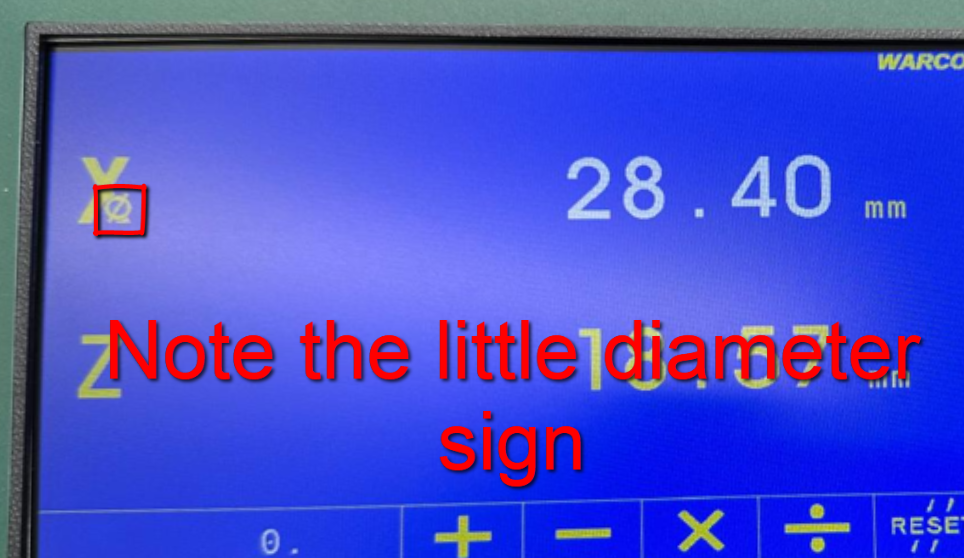
Remember that this is in the diameter mode so if you turn the dial on the machine 1mm increment this will move 2mm on diameter.
Even on a Manual Lathe it is advisable to run the machine in diameter mode although you can change it to radius mode with this button if you are daft enough.

To move the tool left towards the spindle, we call this turning, you move the handle below, you will now see the Z axis moving on the DRO (Digital Readout).
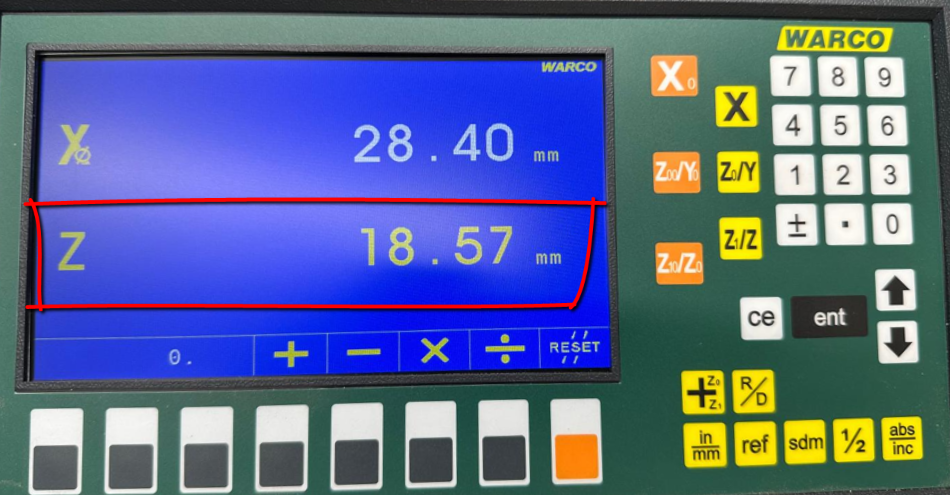
We can set these axis to whatever we want. Press the top orange key to set X to zero. Press the second orange key to set Z to zero.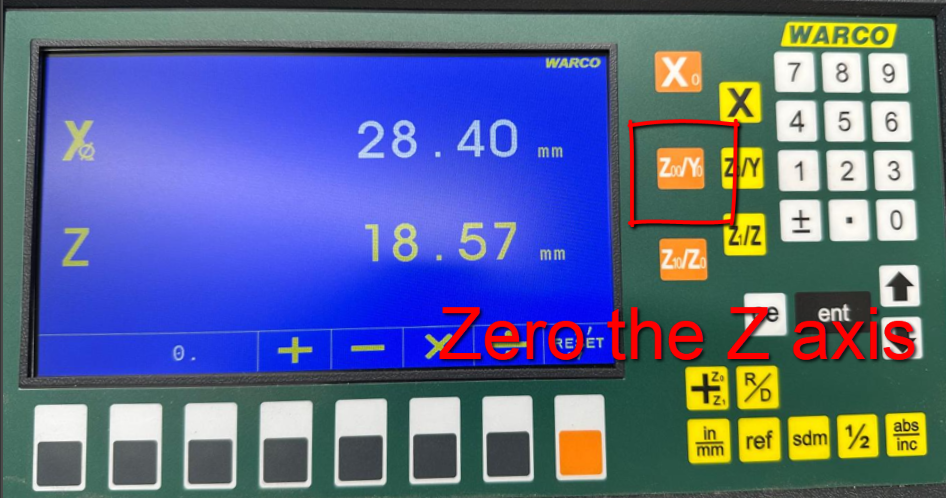
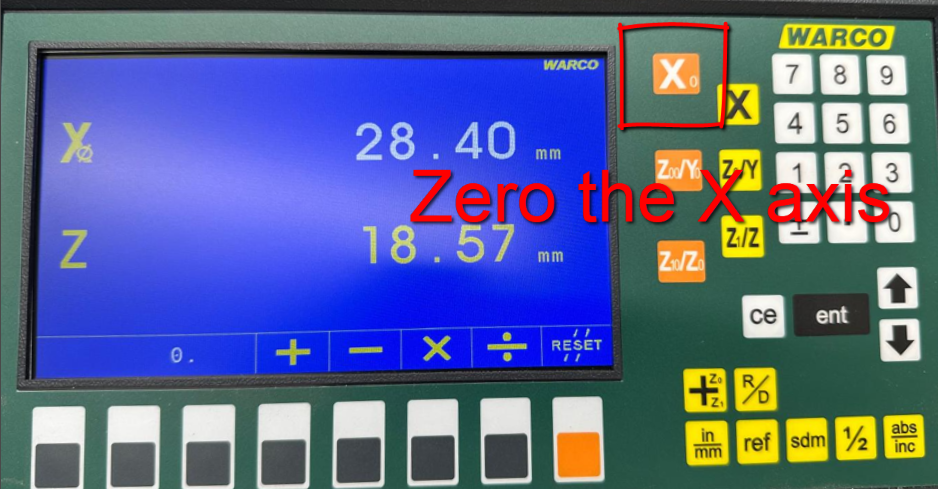
The yellow X key is used to set a figure in the X axis. If you touch your tool onto a 32mm bar you could set the X to 32.
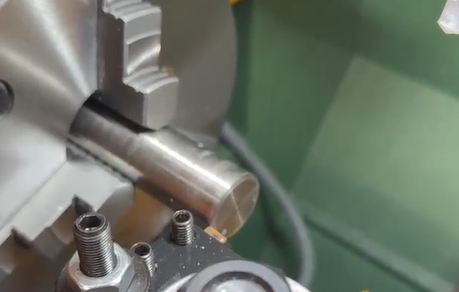
Make sure this is accurate. When you then turn a diameter the display will read correctly.
We normally touch the tool on the end face of the part and set this as the Z zero.
Conversion No Problem
If you press the inch mm button the display will automatically convert your figures from mm to inches.

So if you are at a 25.4mm diameter in X and you press it the display will change to 1 inch.
Power Feed, Manual Lathe
You can power feed the tool to face the part or turn the part. Use this handle. Be sure to test it first away from the part to avoid any nasty surprises.
It is marked but check first.
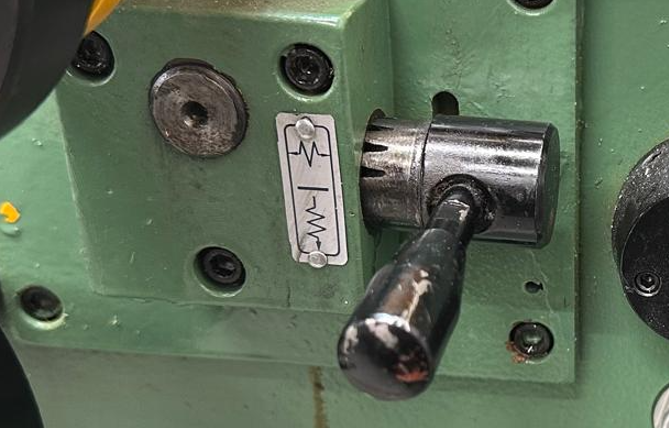
If you want to face or turn in the opposite direction then this knob is for you. As these are mechanical knobs you may need to jog the spindle to make them engage. Press jog and wait until the spindle almost stops or you’ll get a nasty crunch.
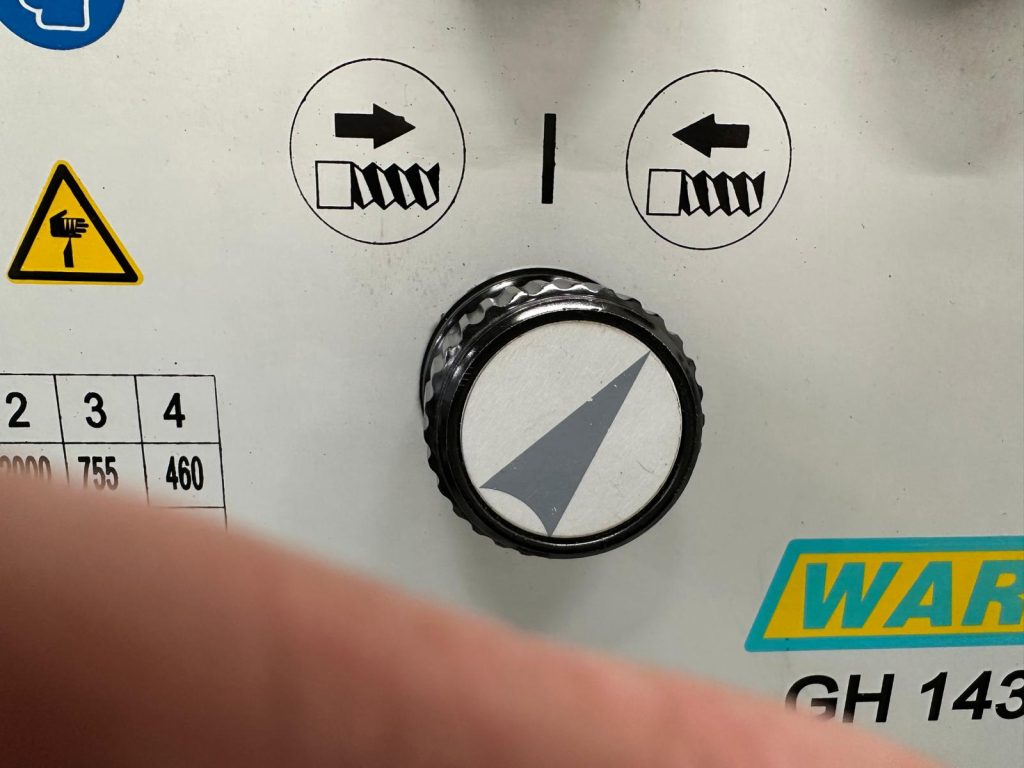
Press and release this button and the spindle will jog around this may help to engage the knobs.
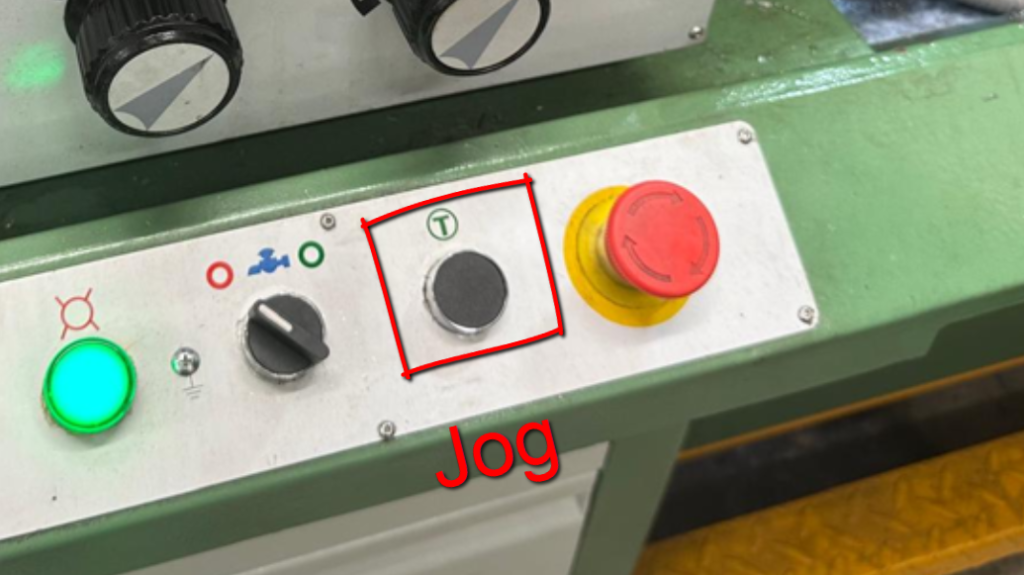
You control the speed that the machine feeds for facing and turning by these controls.
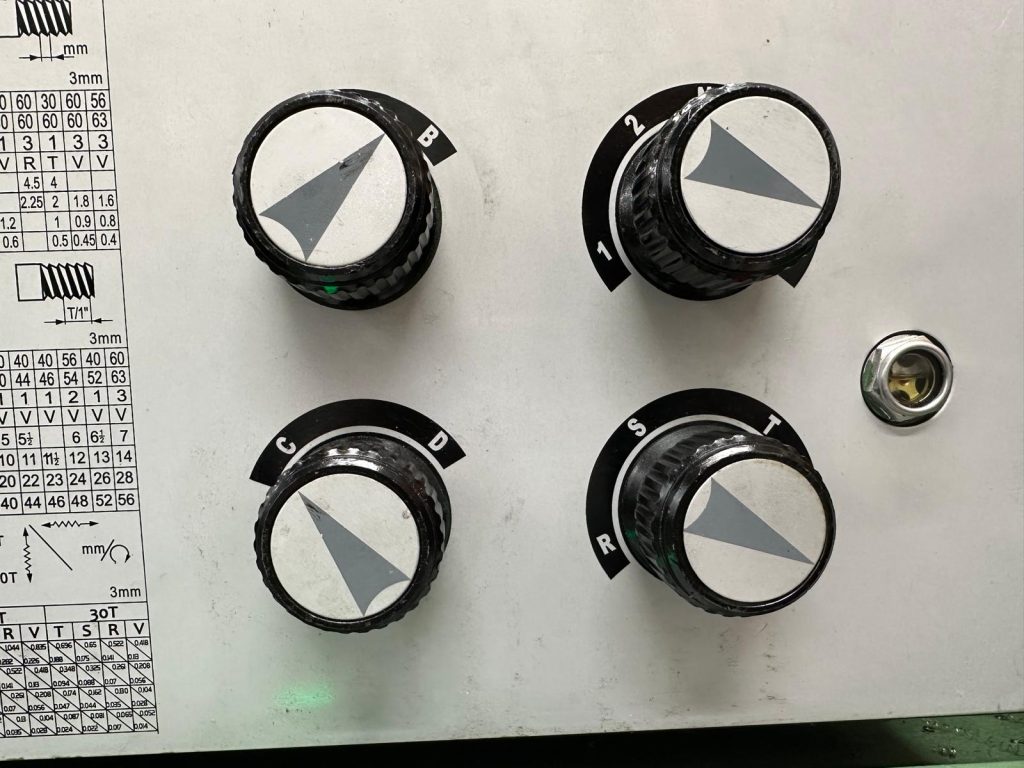
Depending on the combination will determine how fast the Manual Lathe will traverse.
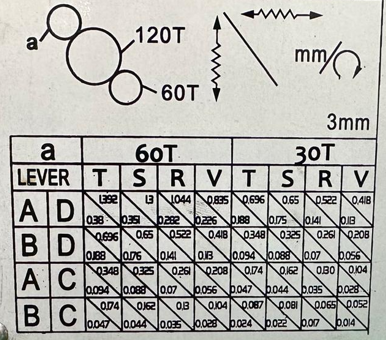
Each results in two feeds top right hand corner is turning, bottom left is facing.
These knobs also control the speeds for screw cutting.
.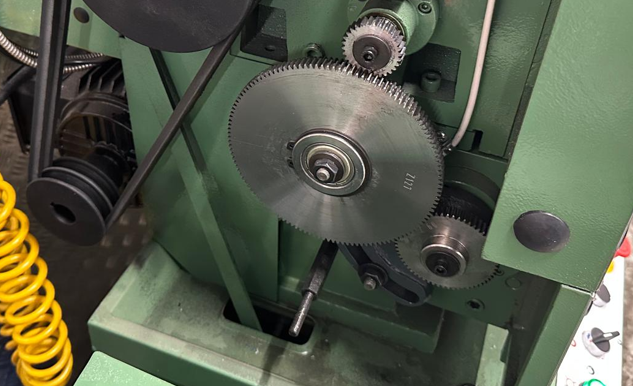
These three gears can be changed to give the different combinations required.
This all needs careful study to get the correct feed.
DRO (Digital Readout) Clever Shit
The DRO has some interesting stuff to offer. By pressing the sdm button

What this allows you to do is number your tools and set a separate coordinate system for each tools. If you need to make a batch of parts then this will really speed things up. Set a new X and Z figure for each tool and recall it with this button. Love it. These Chinese boys are very clever, thanks.
Screwing, Who Doesn’t Love It?
Let’s face it we all love screwing we just can’t get enough of it. Anyway your in the right place. Only thing is it can be a bit dangerous. Depending on your thread you have to get your knobs right.
Come on now grow up, just because we are taking about knobs and screwing you don’t need to giggle. Same as with setting the feeds you use the combination of these knobs and the gears to get the right pitch for your thread.
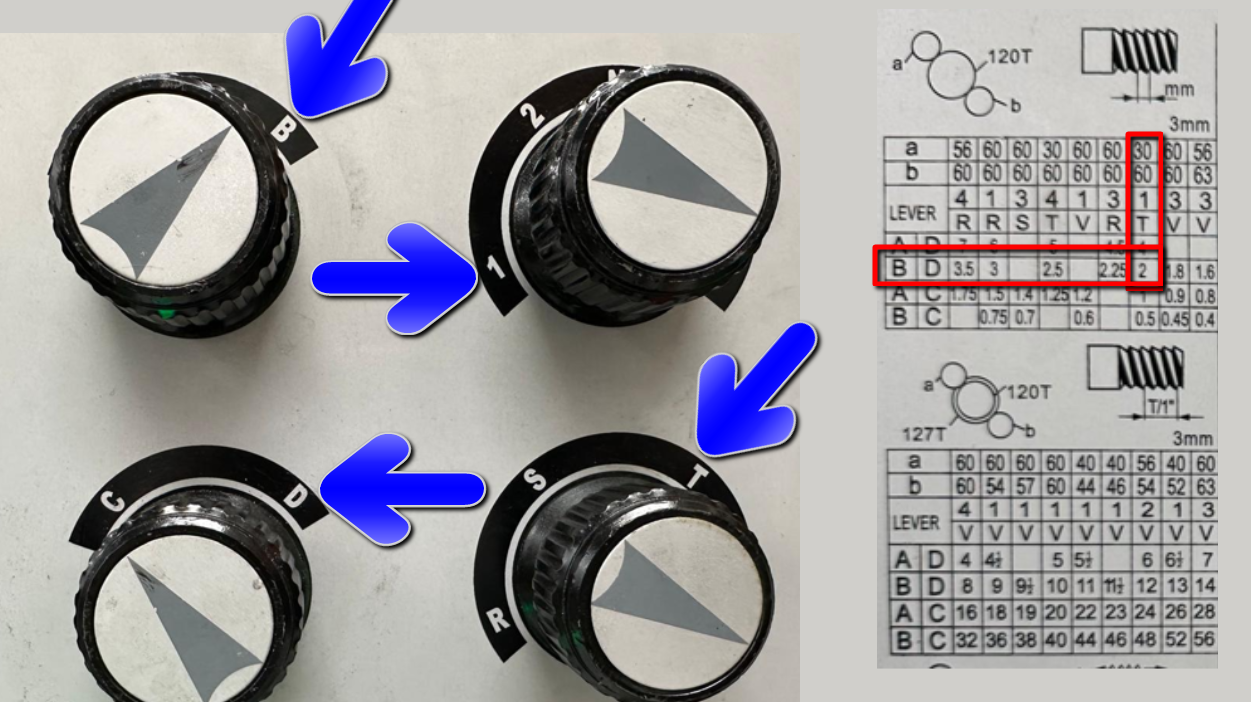
So this combination B D 1 T would give you a 2mm pitch thread. You would need the 30 tooth gear on the top and the 60 tooth gear on the bottom. The central gear is always 120 teeth for metric threads.
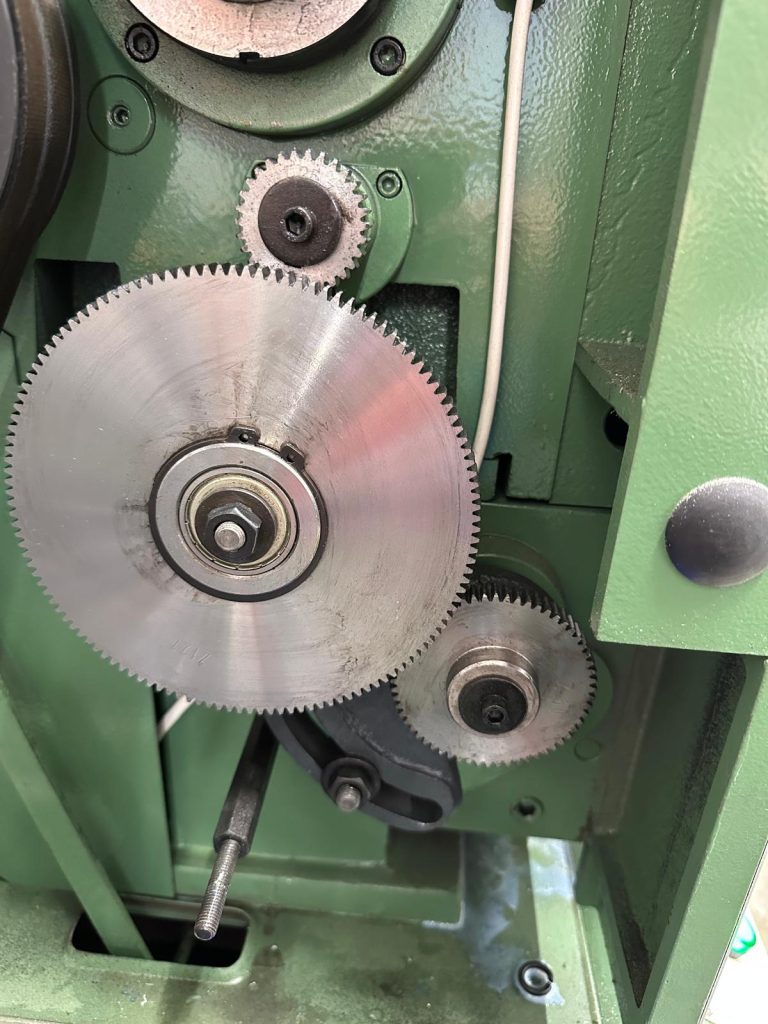
It’s all About Timing.
They say timing is everything. To cut your thread on this Manual Lathe you push down this lever. I can’t stress how important it is to test away from the part and get the knack of engaging and disengaging this lever.
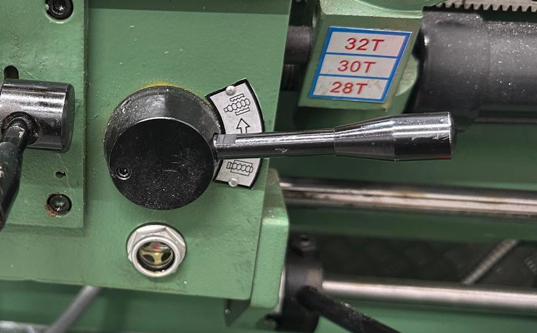
You must dis-engage it before hitting the chuck by pulling it up. You can run the chuck backward with an upside down tool this way you will be threading away from the chuck and it’s a lot less scary.
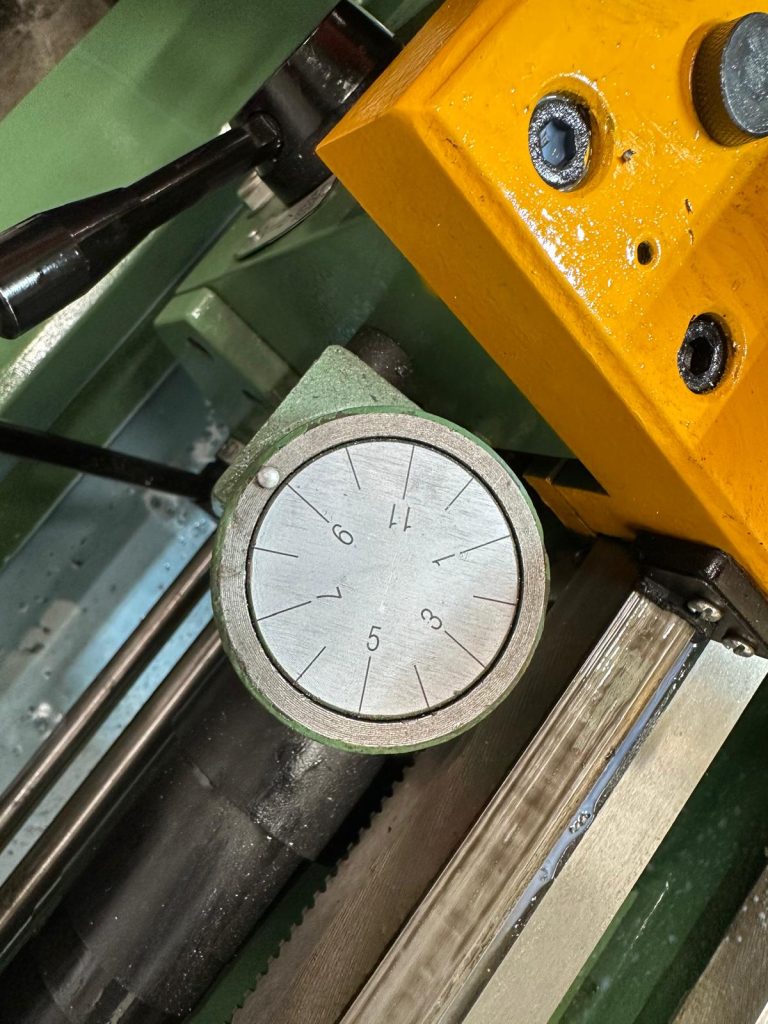
As this wheel rotates engage the lever when number 1 gets to the dot.
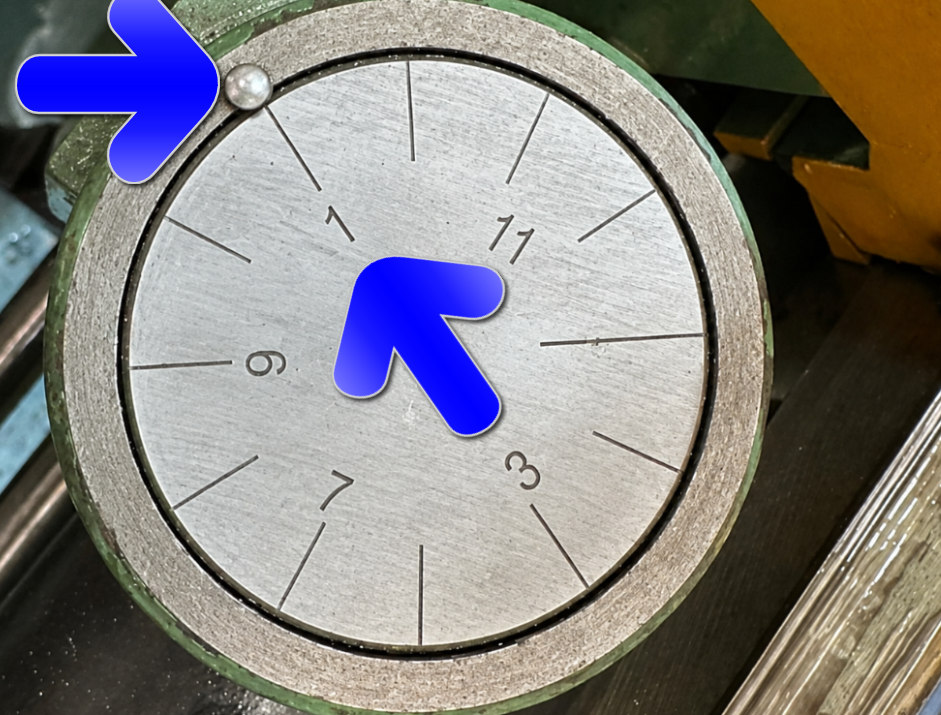
Just like the one above (thanks AI see if you can spot the mistake) Anyway it will work.
All Made On a Manual Lathe
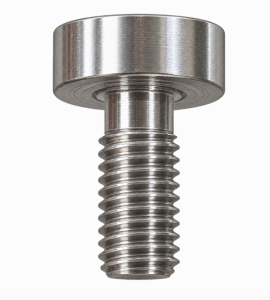
Always try to have an undercut in your thread. This makes it easier to stop. This is my M16 x 2 bolt with an undercut.
The simplest way to engage the lead screw is to use the same number each time. By adjusting the gears below you can engage it in several places.
Unbolt the dial to move it up or down. The gears at the back affect the rotation set to 32, 30 or 28
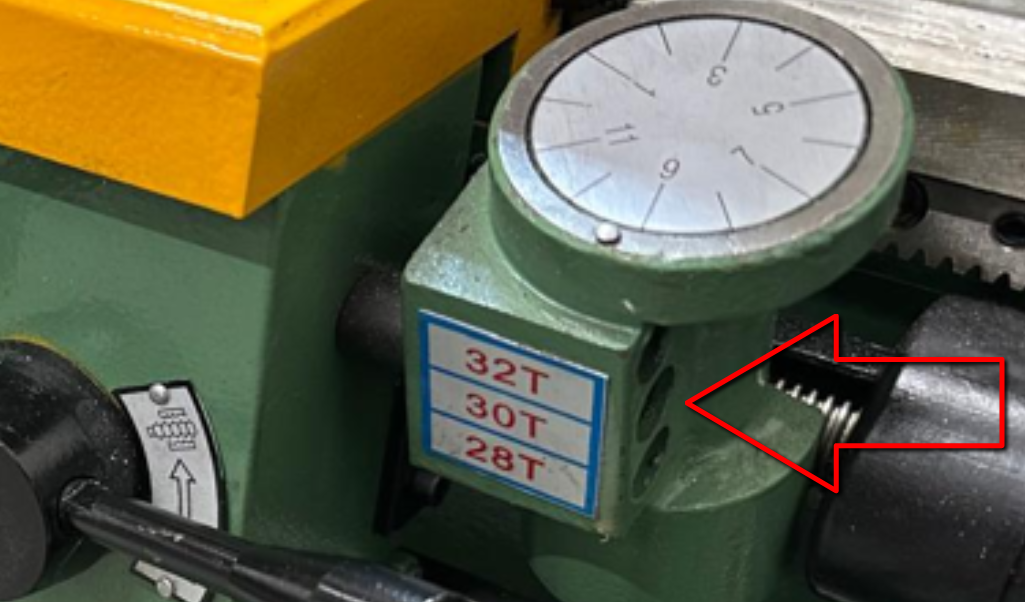
Use this chart.
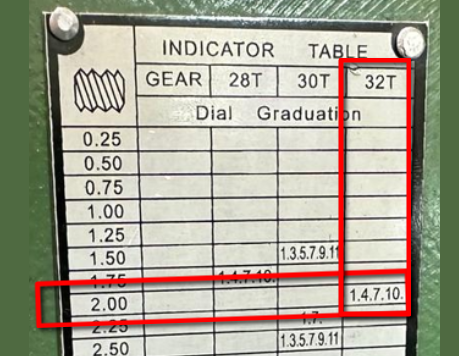
This means if you are cutting a 2mm pitch thread using the 32 tooth gear you can engage at four places on the dial.
Number 1
Number 4
Number 7
Number 10
Coolant on This Manual Lathe
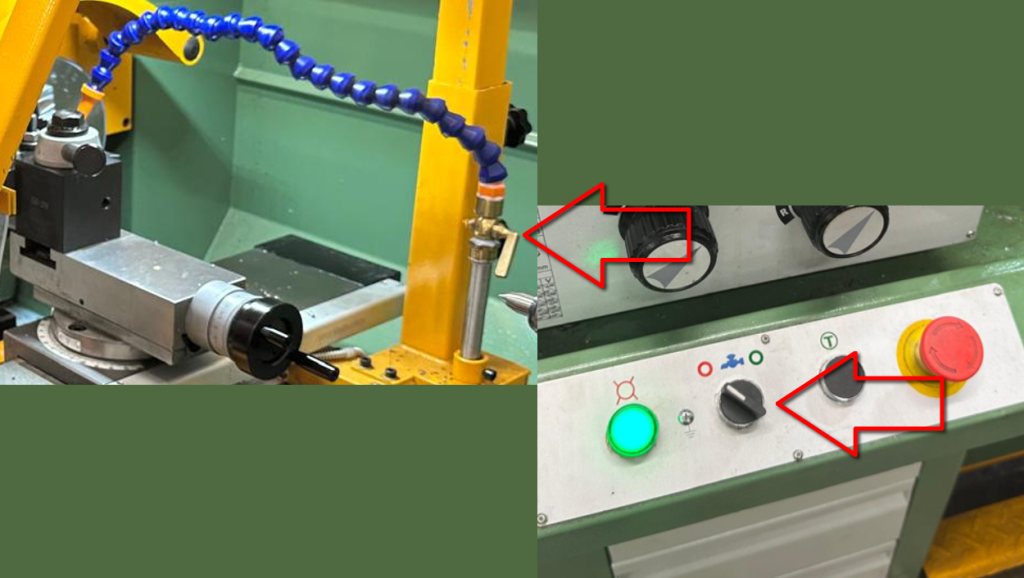
The coolant is a water soluble this is a white liquid. Use this to cool the process when cutting metal. Turn it on here and adjust the tap.
Thanks for reading my article.