Learn how To CNC Program: Unlock Your Potential
Category : New Stuff
Call David: 07834 858 407

In today’s fast-paced manufacturing world, the ability to learn how to CNC program is a game-changer for aspiring machinists, engineers, and hobbyists alike.
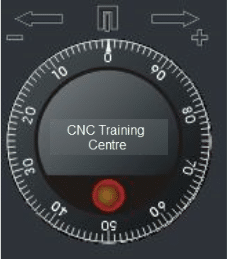
At CNC Training Centre, we specialise in providing comprehensive, hands-on instruction that equips you with the skills to operate and program CNC machines effectively.
Whether you’re a complete beginner or looking to refine your expertise, our courses are designed to meet you where you are and propel you forward.
Why Choose CNC Training Centre to Learn how To CNC Program?
Our programs stand out because we offer flexible learning options tailored to your needs. We teach in both classroom settings and onsite at your facility, ensuring that you get practical, real-world experience without disrupting your schedule.
- Classroom Training: Join us at our facility in Barwell, England, where you’ll benefit from small class sizes, modern equipment, and experienced instructors.
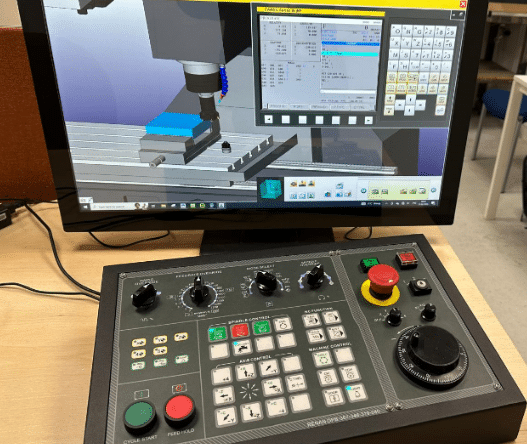
- Incredibly realistic simulators used for collision free practising and experimenting.
- Our classroom sessions cover everything from basic CNC concepts to advanced programming techniques using industry-standard software like G-code and M-code. You’ll get to practice on actual CNC machines, simulating real production environments to build confidence and proficiency.
- Onsite Training: Can’t make it to our centre? No problem! We bring the training to you. Our onsite programs are customised for businesses and individuals, allowing your team to learn how to CNC program directly on your own machines.
- This minimises downtime and maximises relevance, as we address your specific equipment and workflows. From setup and tooling to troubleshooting and optimisation, our experts ensure you gain actionable skills that boost productivity and reduce errors.
Learn how to CNC Program
What sets us apart is our commitment to practical learning. Unlike theoretical courses, our training emphasises “learning by doing.” You’ll dive into projects that mirror industry challenges, such as creating precise parts for automotive, aerospace, or medical applications.
By the end of the course, you’ll not only understand CNC programming but also how to apply it to improve efficiency and innovation in your work.
Application
Most CNC Machines use a form of G Code programming. Fanuc and Haas as well as Siemens.
Even Mazak and Hurco machines will run G code programs. So your training will always remain relevant.
The Benefits of Mastering CNC Programming
Investing time to Learn how to CNC Program opens doors to exciting career opportunities. With the global demand for skilled CNC operators on the rise, our graduates often see immediate improvements in job prospects, salary potential, and job satisfaction. Plus, our courses are affordable and provide certification upon completion to add value to your resume.

Don’t just take our word for it—our alumni rave about the transformative impact:
Highly recommend David as a trainer. The amount that has been taught in a short space of time is unbelievable.
David is very patient and can alter the training to suit your learning style very easily.
He is our go to CNC expert every time
says one satisfied client.
Ready to Get Started?
If you’re eager to Learn how to CNC Program and take your skills to the next level, contact us today at cnctrainingcentre.com. Spaces fill up quickly, so enrol now for upcoming sessions. Whether in the classroom or onsite, we’re here to help you succeed in the world of CNC machining.


